Some tatting projects call for beads to be strung onto the thread before starting to tat. There are various ways of getting the beads on, here are three methods that I use.
 To download a free PDF file of this tutorial, CLICK HERE.
Crochet hook:
Put the beads onto the shaft of a small steel crochet hook,
and “hook” them onto the thread.
A crochet hook up to size 12/1.00mm can accommodate size 8°
seed beads.
A crochet hook size 14/0.75mm usually works for size 11°
seed beads.
For beads with very small holes, try a tiny size 15/0.5mm or
16/0.4mm crochet hook. (Note: beads with very small holes might not
fit on size 10 crochet cotton. Size 20 crochet cotton usually can accommodate
most beads.)
................................................................................................

Wide eye beading needle:
A wide eye beading needle has a flexible large eye that flattens as the beads pass over it. A plastic “floss threader” (a tool made for dental care) works in the same way. With any of these needles, insert the thread for your project through the wide eye, pick up the beads onto the shaft of the needle, and slide the beads onto the thread.

................................................................................................
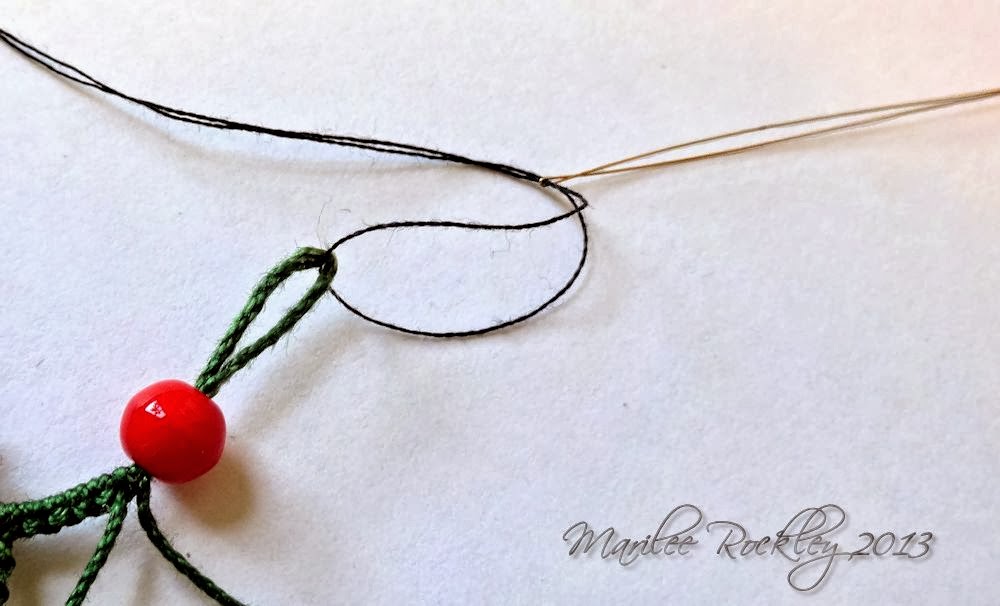
Standard needle and sewing thread:

 A hand sewing or standard beading needle, in combination
with a small piece of sewing thread, will also work to get beads onto your
project thread. The needle has to be thin enough for the beads to pass over it.
Thread the needle with the sewing thread, catch the project thread by passing the
sewing thread around it, and thread the sewing thread through the needle again.
Pick up the beads onto the shaft of the needle; slide them down the sewing
thread, and onto the project thread. When all of the beads needed are strung
onto the project thread, remove the needle and sewing thread.
A hand sewing or standard beading needle, in combination
with a small piece of sewing thread, will also work to get beads onto your
project thread. The needle has to be thin enough for the beads to pass over it.
Thread the needle with the sewing thread, catch the project thread by passing the
sewing thread around it, and thread the sewing thread through the needle again.
Pick up the beads onto the shaft of the needle; slide them down the sewing
thread, and onto the project thread. When all of the beads needed are strung
onto the project thread, remove the needle and sewing thread.