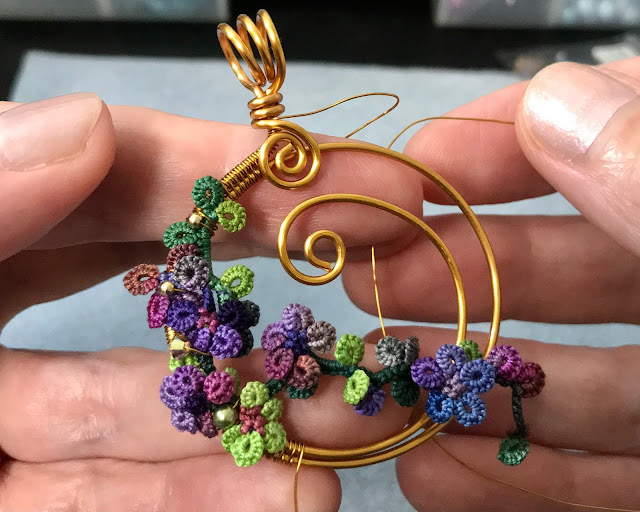
People have been asking about how I am tatting the tiny "flowers" that I've been putting onto my wire pendants. The flowers can be used in embroidery, too. So, here is a repeat of my encapsulation tutorial from July 31, 2017.
The encapsulation technique for little flower motifs
You need at least 3 threads. For this demo I used a continuous multicolored thread on 2 shuttles plus a contrasting color on a 3rd shuttle.
The threads can be knotted together, but I like to get started without a knot. I pick up one of the shuttles with the continuous thread, which is the color that I want for the rings (flower petals), and tat a Josephine ring (a ring made using the same half stitch repeatedly).
Note: I like to use the 1st half of the double stitch only, because it gives a tighter ring. But, the 2nd half of the double stitch can be used instead, for a looser look. The differing results are because the 1st half tightens the twist in the thread, the 2nd half loosens the twist. I usually put 9 to 14 half stitches in these rings, which must be closed carefully because the thread wants to kink.
After closing the ring, a short chain follows. Hold both of the continuous threads and the tail of the contrasting thread. The tail needs to be long enough to tension it along with the other threads for the multiple core of the chain.
(Note: at some place along the "stem" of the flower motif the tail can be abandoned and cut off later. This is how I start the motif without a knot and no tails to sew in.)
Wrap 1 unflipped double stitch over the multiple core threads. I used 2nd half first, 1st half second in this photo, which makes a downward facing curve.
Pick up the same shuttle that you used for the first ring to tat the next ring (the next "petal"). It is important to keep a main core thread sliding freely inside the chains for the flower, to be able to snug the flower up tightly when it's done. Only after the flower is closed, can any of the threads be used freely.
Follow each ring with an unflipped double stitch wrapped over the multiple core.
Use as many petals as you wish for the flower. Follow the last ring with 1 unflipped double stitch chain. Then, to close the flower and continue with a chain for the "stem", put the chain thread on top, leaving the multiple core threads below, between the 1st and 2nd rings.
Wrap unflipped double stitches for the "stem" chain.
- If you want the stem to curve upward, bring the wrapping thread under the multiple thread core, then tat first half, 2nd half.
- To curve the stem downward, leave the wrapping thread below the core and tat 2nd half, 1st half.
After a few stitches, pull the main core thread to tighten the flower. From time to time, also tug the other threads to keep everything nice and tight.
Continue in any way you wish, throwing off "leaves" and "buds" using any of the threads, adding more "flowers" as you like.
To end off, the extra threads can be hidden inside the final rings, and the last ring can be a single shuttle split ring, leaving no tails to sew in. Have fun!


9 comments:
Oh goodness, it’s complicated! Well worth the effort though, love the wire wrapped pendant.
Great explanation, thank you! And your wire pendants are really pretty.
You create such beautiful and awesome wire wrapped/tatting pendants!!! :)
Brilliant explanation and excellent photos for us who love visual help.
I never thought of using the first half of a ds for a josephine ring. I like your logic, though. I'll try it. Thank you for sharing your wealth of knowledge.
LindaR
wow amazing work
Beautiful work and I like your wire work
I use the 1st half for JRs, too, and prefer it. But it started off for a different reason- I most often Forget to start with the 2ns half 😜 So instead of undoing that half stitch, I continue along.
Your freeform is always so pleasing ❤
I love this technique! I first found the idea of encapsulation in your second tatting class. I love to use this with my knitting to create decorative flowers. Your creativity is amazing 😎
Post a Comment