Showing posts with label Beaded Tatting. Show all posts

Saturday, August 15, 2026

New tatting pattern Trixie


My new design "Trixie" is done! I've written the pattern for this necklace and earrings set and it's now listed on Etsy as an instant download.


The inspiration for this pattern is from one of my earlier designs "Beatrice" (still available in the book Tatting with Beads Jewelry at Barnes and Noble) which was a more complex design that involved pearl tatting and Catherine Wheel joins. Both of those techniques do not exist in "Trixie", so it is an easier tat. I put in some "front side, back side" directions in the pattern but of course those are a personal choice.


So, there is my first new pattern of the year 2026! I'm happy to have done it.☺


Monday, December 11, 2023

The picot comb, new eyeglasses, and metallic thread fire test


"Linnea" bracelet in progress

The large Clover picot comb comes in handy for measuring picots that will have beads placed over them. I'm not one to use a picot gauge much at all, but the Linnea pattern has a lot of picots that will be covered in size 8/0 seed beads in the next row. Too many for the paper clip method of holding beads on temporarily. I found that 2 bars of the comb made the picots the right size!

Clover picot comb in use.


Picture of me in my "studio" wearing my new eyeglasses.

New multi-focal glasses for me now that recovery from cataract surgery is done! Everything is so clear and bright now. Ordinary reading glasses work okay for close work like tatting, but I prefer to not have to put on glasses to see close, then having to take them off to see distance, so the multifocal glasses are perfect for me. My distance vision isn't quite 20/20 anyway so they have just the right amount of correction.

Recently I watched someone "melting" the ends of Liz Metallic thread and got overly excited about it. I do have some experience melting the ends of nylon macramé cord which works well and I had all sorts of dreams of easy finishing of Liz Metallic projects in the same manner. At the Tollway Tatters zoom meeting on Saturday I was offered some really helpful advice : experiment first on a practice piece! So I did and here's some photos.

Yes, that's a scary flame!

The side of the lighter extinguished the flame, but...

That candle-like type of flame is not what I've experienced with nylon cord. Also the knot did not seal, it came apart. So, I'll just stay with sewing the ends in to finish them, as with cotton thread.

I still love working with Liz Metallic thread! Here's my current bobbin lace project in progress using the colors of "Seafoam" and "Sand Dollar". The lace collar pattern is "Pareis" by Colette Varet. I've made this pattern before in Liz Metallic "Bright Gold".

Bobbin lace "Pareis" collar in progress.

Sunday, November 26, 2023

Lilac Sea and Sea Green plus lace jewelry


Hand dyed "Lilac Sea" is a pretty sea green with purple. I took the dye for sea green, added a little bit more dye to make the color slightly richer, and did a few solid color skeins in size 20. Actually, I was trying to match a batch from years ago that I'm using in a current project, but the thread in my project is a little darker. So, next time I'll add a dash of black dye powder to darken it, hoping to not add too much! But the current skeins go very nicely with the "Lilac Sea".


A couple of pendants currently listed in my Etsy shop: the blue and white is from my free pattern "Star Capella" and the red is from a pattern in my book "Up and Tat 'Em". I added beads to the outer picots and a curled ring bail at the top, but otherwise it is the same as the "Five Petal Pendant" pattern.
Mélange earrings in Liz Metallic bright gold with red beads


"Loopy" earrings with Liz Metallic Iridescent and Lizbeth Christmas Delight size 20.


That's me wearing a bobbin lace collar made from Liz Metallic, with the sweater I knitted last year. ☺
Currently no eyeglasses since I recently had cataract surgery. I've been using reading glasses to see close work. Prescription bifocals will be next. I do notice that colors are a lot brighter now! ♥

Saturday, April 15, 2023

Tatted Link Earrings


I've made a video demo and posted it on YouTube.
Short clips from the video are also on Instagram and TikTok. It's a very simple pattern, and here's the diagram:

The following photos list the supplies that I used:


An example of the 20mm links used:  https://www.firemountaingems.com/itemdetails/H205131FY

Short story: I happened to be wearing a pair of these earrings while hiking on the Hank Aaron Nature Trail in Milwaukee. I passed a group of teenage students on a field trip there, and one of them said, "I like your earrings!"
That made my day and inspired me to put the tutorial online. I hope you'll enjoy!


Saturday, July 30, 2022

Mixed media jewelry with tatting


What I usually do is pick the colors first! 

The hand dyed thread I chose for the tatted "flowers" is from the Misty Morning batch, along with some from Blue Skies, both size 10, as well as some size 20 Lizbeth in a solid light blue. 
The teardrop focal bead is Czech glass from BastetsBeads. 
The bronze colored non-tarnish wire is from Bello Modo. I used 16 gauge for the frame, 20 gauge for wrapping the focal bead, and 28 gauge for wrapping the tatting onto the frame. When wire wrapping tatting, I always wrap over the tatted double stitches, avoiding placing wire over a single thread, in order to keep the result as durable as possible. 

The tatting is a random arrangement of Josephine rings and chains of encapsulation technique, with the extra threads carried inside the chains until needed.

While wrapping the tatting onto the frame, tiny beads can be added where desired by stringing the beads onto the wrapping wire.

For macramé I like to use nylon cord in 0.5mm diameter. I appreciate the convenience that the many tails left over from macramé can be cut and melted with a lighter to secure them. The tatting knot can be done in macramé, too!


Wire wrapped touches can look very nice added to tatted lace earrings, too. This design is a variation on my simpler "Giddy" pattern which is published in the book Tatted Jewelry. 
(By the way, I no longer receive any royalties from that book, but I'm still pleased that my name is on the cover.)


Thursday, July 22, 2021

Beading with Tatting, Color and Roses


Work in progress: tatting with beads, beading around 8mm beads, and a retake on a previous design in peppermint green.


This beading is peyote stitch, using a doubled thread as shown in the 2nd photo. I've been using 6 lb. "Fireline" thread but have observed that it's a bit thick to use doubled with the size 11/0 Delicas beads and tiny size 15/0 seed beads that I'm working with. So have placed an order for 4 lb. Fireline to use in the future. Oh, and if you are looking for a tutorial, I'm following the top bead design shown by Viktoriya Antipova in her YouTube video here: https://youtu.be/m7oqEBAxhEI?t=1679 And it would be nice to support her by giving her video a "like".


Last weekend was a classic car show and I fell in love with all the aqua and teal colors I saw! So, having realized that I've never done a dye batch completely of aqua shades, that's definitely on the to-do list. (^◡^ )

The Peace rose that I had been using in photographs up to now was one I had seen at the Boerner Botanical Gardens. But theirs died, so since I really need a Peace rose in my life I bought one and planted it in my own garden. So here's a photo of its 3rd rose produced this summer!


Now that I've learned a little bit about roses (I was clueless!) now I have a deeper appreciation for the "faithfully blooming every summer for 22 years" red rose given to me by my mother. 

I don't know the name of this rose, but with the help of a rose expert friend, we've decided that it's a beautiful red rose! (And the inspiration for my original "Roses" batch of hand dyed thread.)


Saturday, January 16, 2021

Tatting is on TikTok


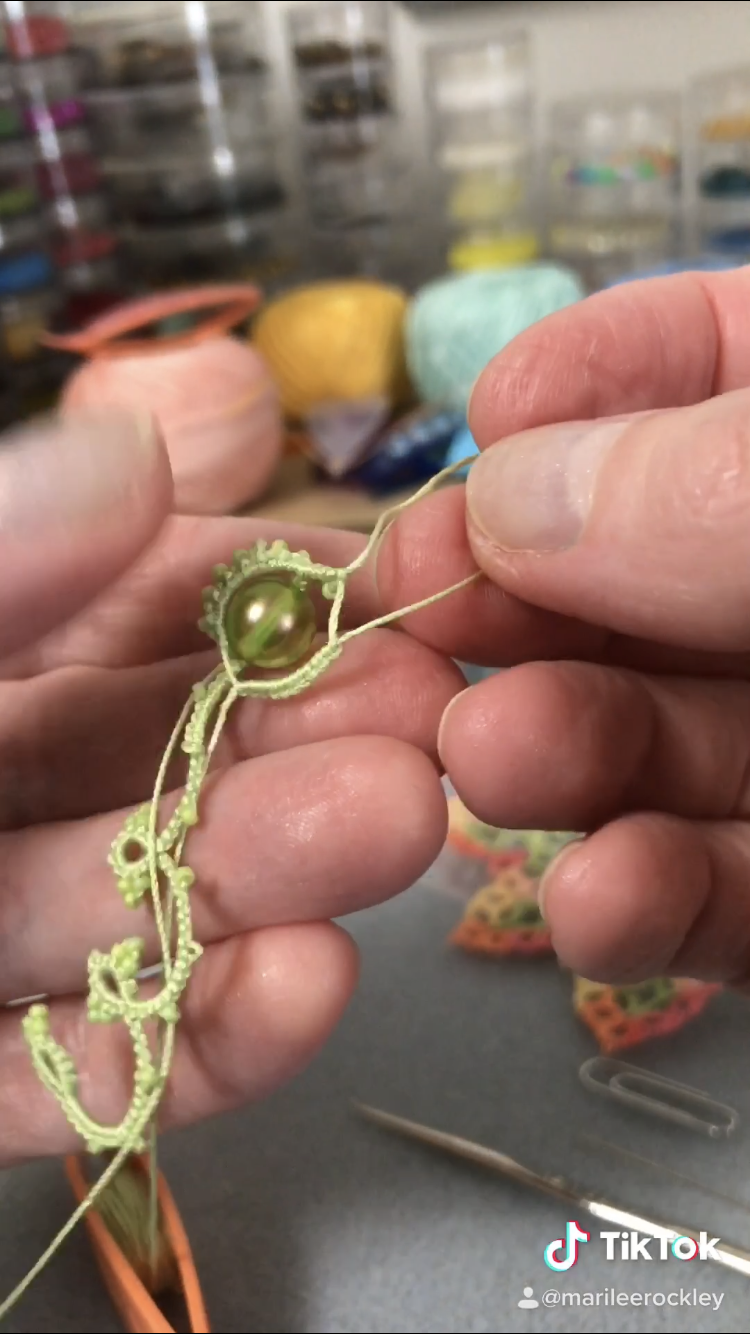
There are several tatters already posting on the smartphone app "TikTok" and I've been on it about 5 weeks now. What it's all about is short videos, 60 seconds or less. The format is vertical, which is a bit of a challenge since tatting movements are mostly horizontal, but it works. The 27 seconds video I posted on January 15 went "viral" - by tatting standards, anyway. ♥☺ At the time of this writing it has received over 11 thousand views, 2400 likes, and over 200 comments. 

The comments are of the same kind we've all heard before: "So beautiful", "My grandmother tatted", "How long does that take?", "I thought that was crochet", "What magic is this?" "That's a lost art", etc. Also much interest in learning how to tat. So, a new audience eager to learn tatting.


The project I demonstrated in the video is my remake of a vintage pattern 
found in the book "The Tatter's Treasure Chest".

I found the original pattern rather hard to decipher, so I tatted a practice piece first, to see how it all fit together. Following that, I decided where to adjust the stitch count, where I wanted to place beads and eliminated some decorative picots that might get messy by wearing as a necklace. I had some trouble with the large bead inside a tatted ring, so that got turned that into an "opening a closed ring" demo.

Such fun!

Wednesday, July 25, 2018

A rivoli is...


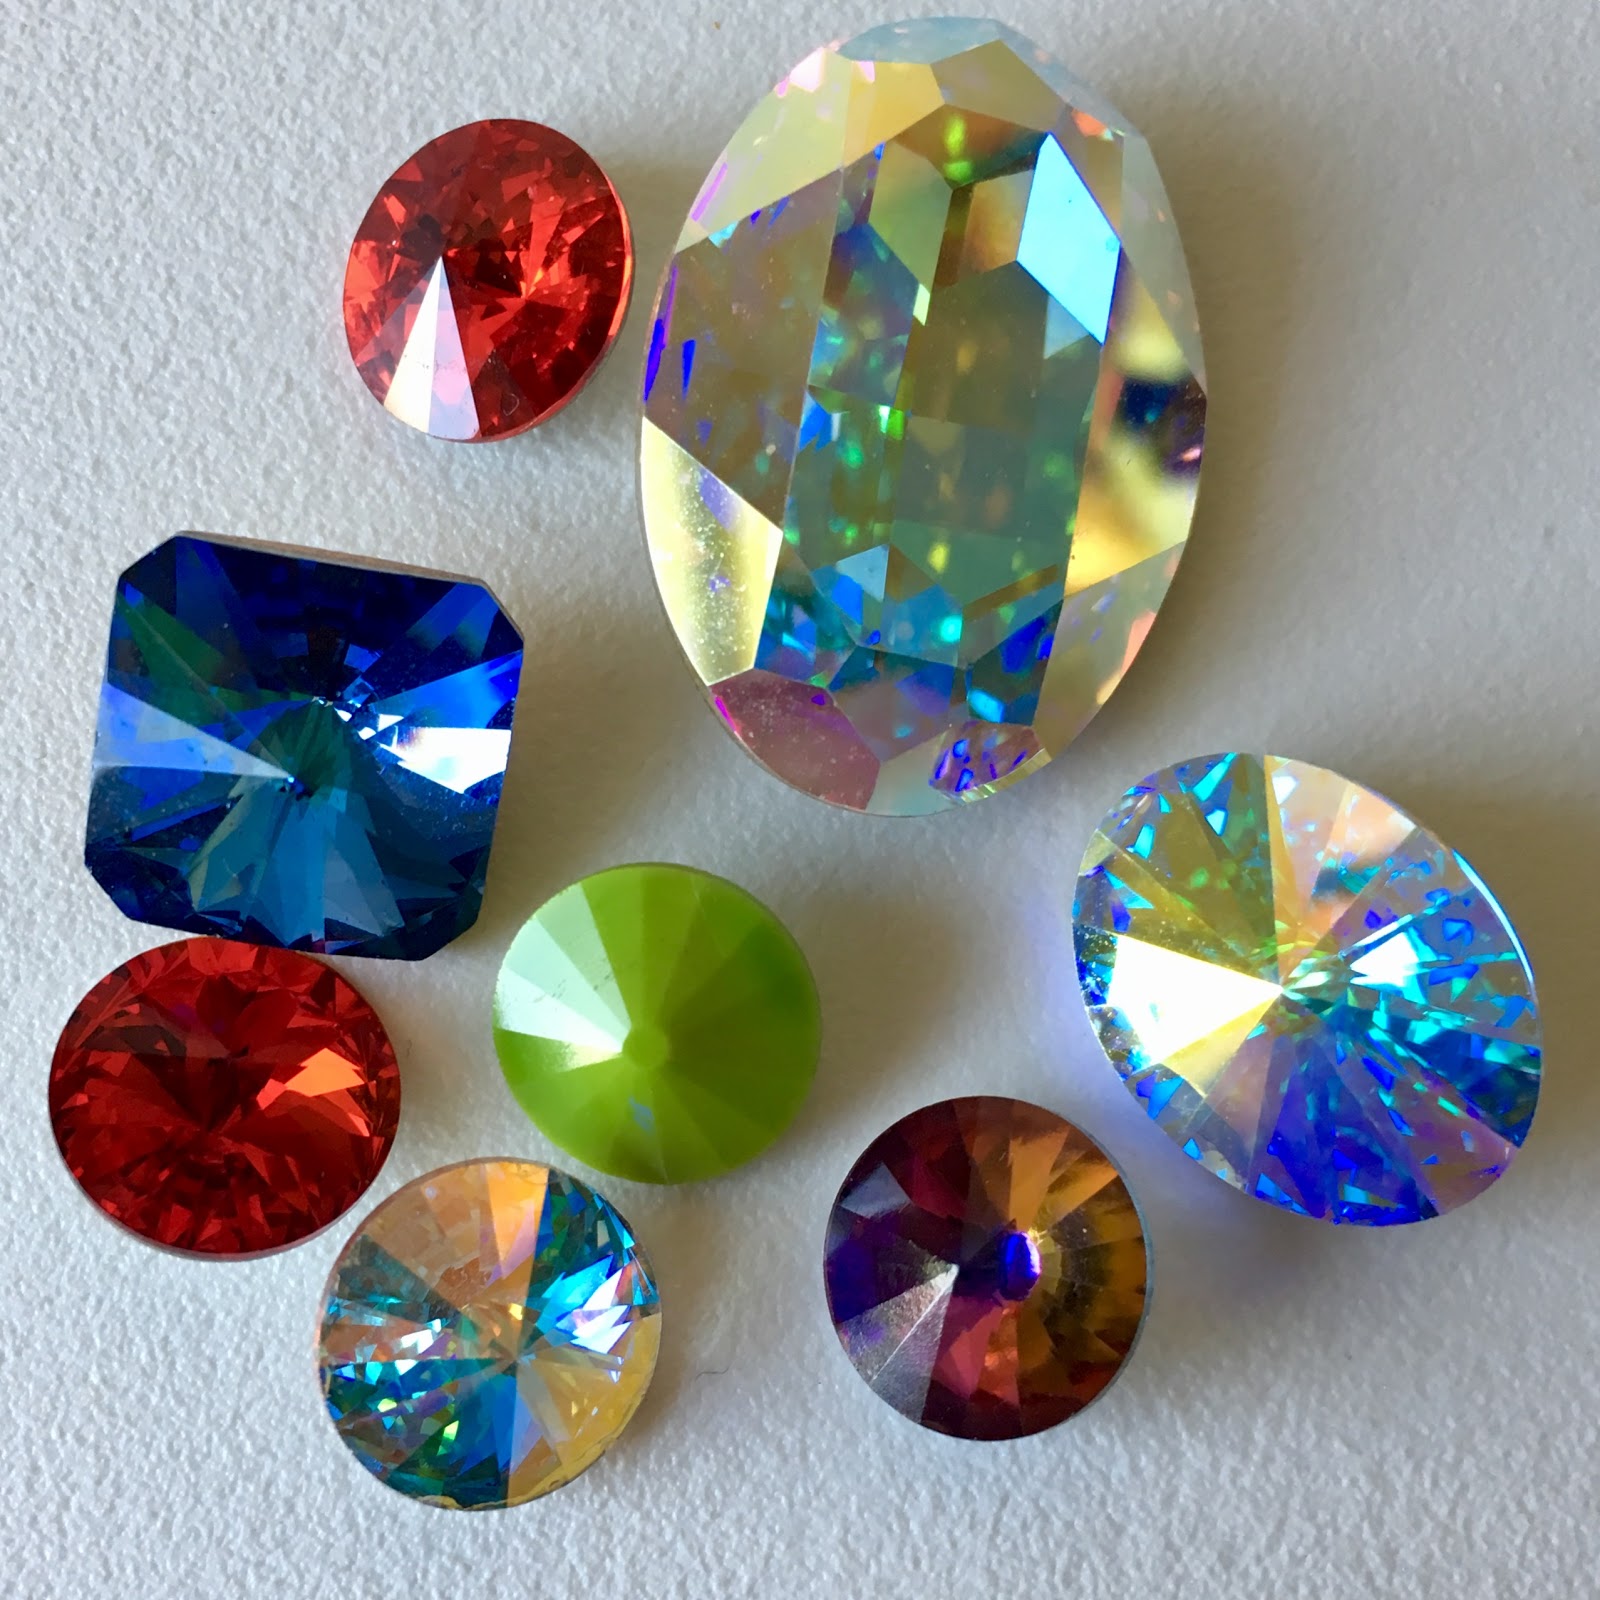
 A rivoli is a crystal with a foil backing, making it very sparkly. There are no holes, so it's a cabochon, not a bead. They come in a variety of shapes and sizes, for many creative possibilities.
 The foil backing needs to be protected from scratches and wearing off, because if that happens, the crystal will lose some sparkle. Before working with the rivoli, paint some clear nail polish on the foil back and let it dry.
I beaded a peyote bezel around my rivoli before adding tatting around it. Deborah Roberti of AroundTheBeadingTable.com has written an excellent free tutorial for creating a peyote bezel, and that's what I followed. She has many more patterns for sale on her website. 

I used a 12mm Swarovski rivoli, size 11/0 Delicas and size 15/0 seed beads. My beading thread was 6 lb Fireline, which is a little thicker than the 4 lb Fireline recommended in the tutorial, but it worked well for me. I must point out that it's important to use a thread especially made for beading to do the peyote, because an ordinary sewing thread can easily break from the stress. 

The necklace I designed. The center is a beaded rivoli, with tatting added around it. I joined the tatting by inserting a tiny crochet hook under the beading thread between beads. Tatting techniques used included bead picots, beads on the core thread, Josephine rings, and split rings. I used size 20 thread in my own hand dyed "Lilac Sea" and "Forest", plus Lizbeth white.

I chose to finish the necklace with strung beads on a flexible beading wire.

Tatting the necklace in progress. I was surprised at the creamy color of the size 11/0 Toho Lt. Jonquil seed beads on the white thread, as compared to the darker color in the tube. I was very pleased with the results!

Tuesday, July 10, 2018

“Berry Sundae” hand dyed


New hand dyed thread, "Berry Sundae" is now listed in my Etsy shop. The colors were inspired by a lovely berry sundae that I enjoyed recently.

If you've been waiting for my books to go on sale, the time is now. My self-published books (printed only) are currently on sale in my Etsy shop at a discounted price.


Another one of my wire + tatting experiments. I'm keeping this one!
The details: 
I used solid brass wire from Beadaholique in gauges 18, 20, and 28. The Sodalite stone I purchased from a local bead shop. The tatted "flowers" are a mix of my own hand dyed with white and some gray polyester thread. I basically used the same techniques as in this video, only this particular pendant got a little fancier.

For those wanting to learn more about wire weaving, I recommend Dawn Horner's Craftsy class Start Wire Weaving Cabochon Pendants (affiliate link).


Monday, March 27, 2017

Video: Tatting a Mock Ring and Floating Ring With Beads


This 10 minute video shows me working with 2 shuttles, tatting a mock ring around a bead, bead picots, lock join, chain, tatting a floating ring thrown off a chain, putting a bead in the center of the floating ring, and you'll hear me talk about what I'm doing.

It's actually a demonstration of the start of my own Nouveau necklace pattern. I made this video in response to questions about the techniques used. I hope this helps!

Tuesday, November 8, 2016

Some beads in my stash


Here's a comparison of some types of beads I often use. 

Bead size is written at the left, with 3 examples of that size in each row (round, faceted, and bicone shapes). 
Seed beads are between the lines at the bottom of the picture.

Size 20 thread and finer can fit through the hole of any of these beads. 

Size 10 Lizbeth thread is thicker, so the 3 mm beads and some 11/0 seed beads won't fit. I've taken to using Toho Takumi large hole beads when I want an 11/0 seed bead with size 10 thread, since they fit easily. Delicas (a brand of Japanese cylinder beads) will also fit on size 10 thread. They really are shaped like tiny cylinders.

Not on the list are a new arrival called "demi" seed beads. They're half the width of regular seed beads. I tried them on some dainty snowflake earrings in size 40 thread, and liked the delicate effect in the picots combined with a regular 11/0 seed bead on the core thread.
In hand dyed "Candy Mint" size 40.

Lizbeth size 40 in white.
The snowflake pattern is mine, "tweaked" and "upgraded" from a simpler original I blogged about in 2008, Quickie Snowflake Earrings.