Finished these using my own hand dyed thread, with different colors and beads for each pair. They're listed in my Etsy shop as well as the pattern, "Heart Aglow".
For two of these I substituted wire wrapped links for the chain suggested in the pattern. I like the results!
Each pair I finished by making the ear wires myself. I favor pure Niobium for ear wires because it's very unlikely to cause an allergic reaction in anyone, but the pair with the gold beads and chain I matched up with gold filled wire. Of course, I can change that out for niobium upon request.
Since my time is limited, I only make tatted jewelry as I can and want to. I don't do any custom orders, and each piece of finished jewelry in my Etsy shop is one of a kind.
Thursday, August 2, 2018
Wednesday, July 25, 2018
A rivoli is...
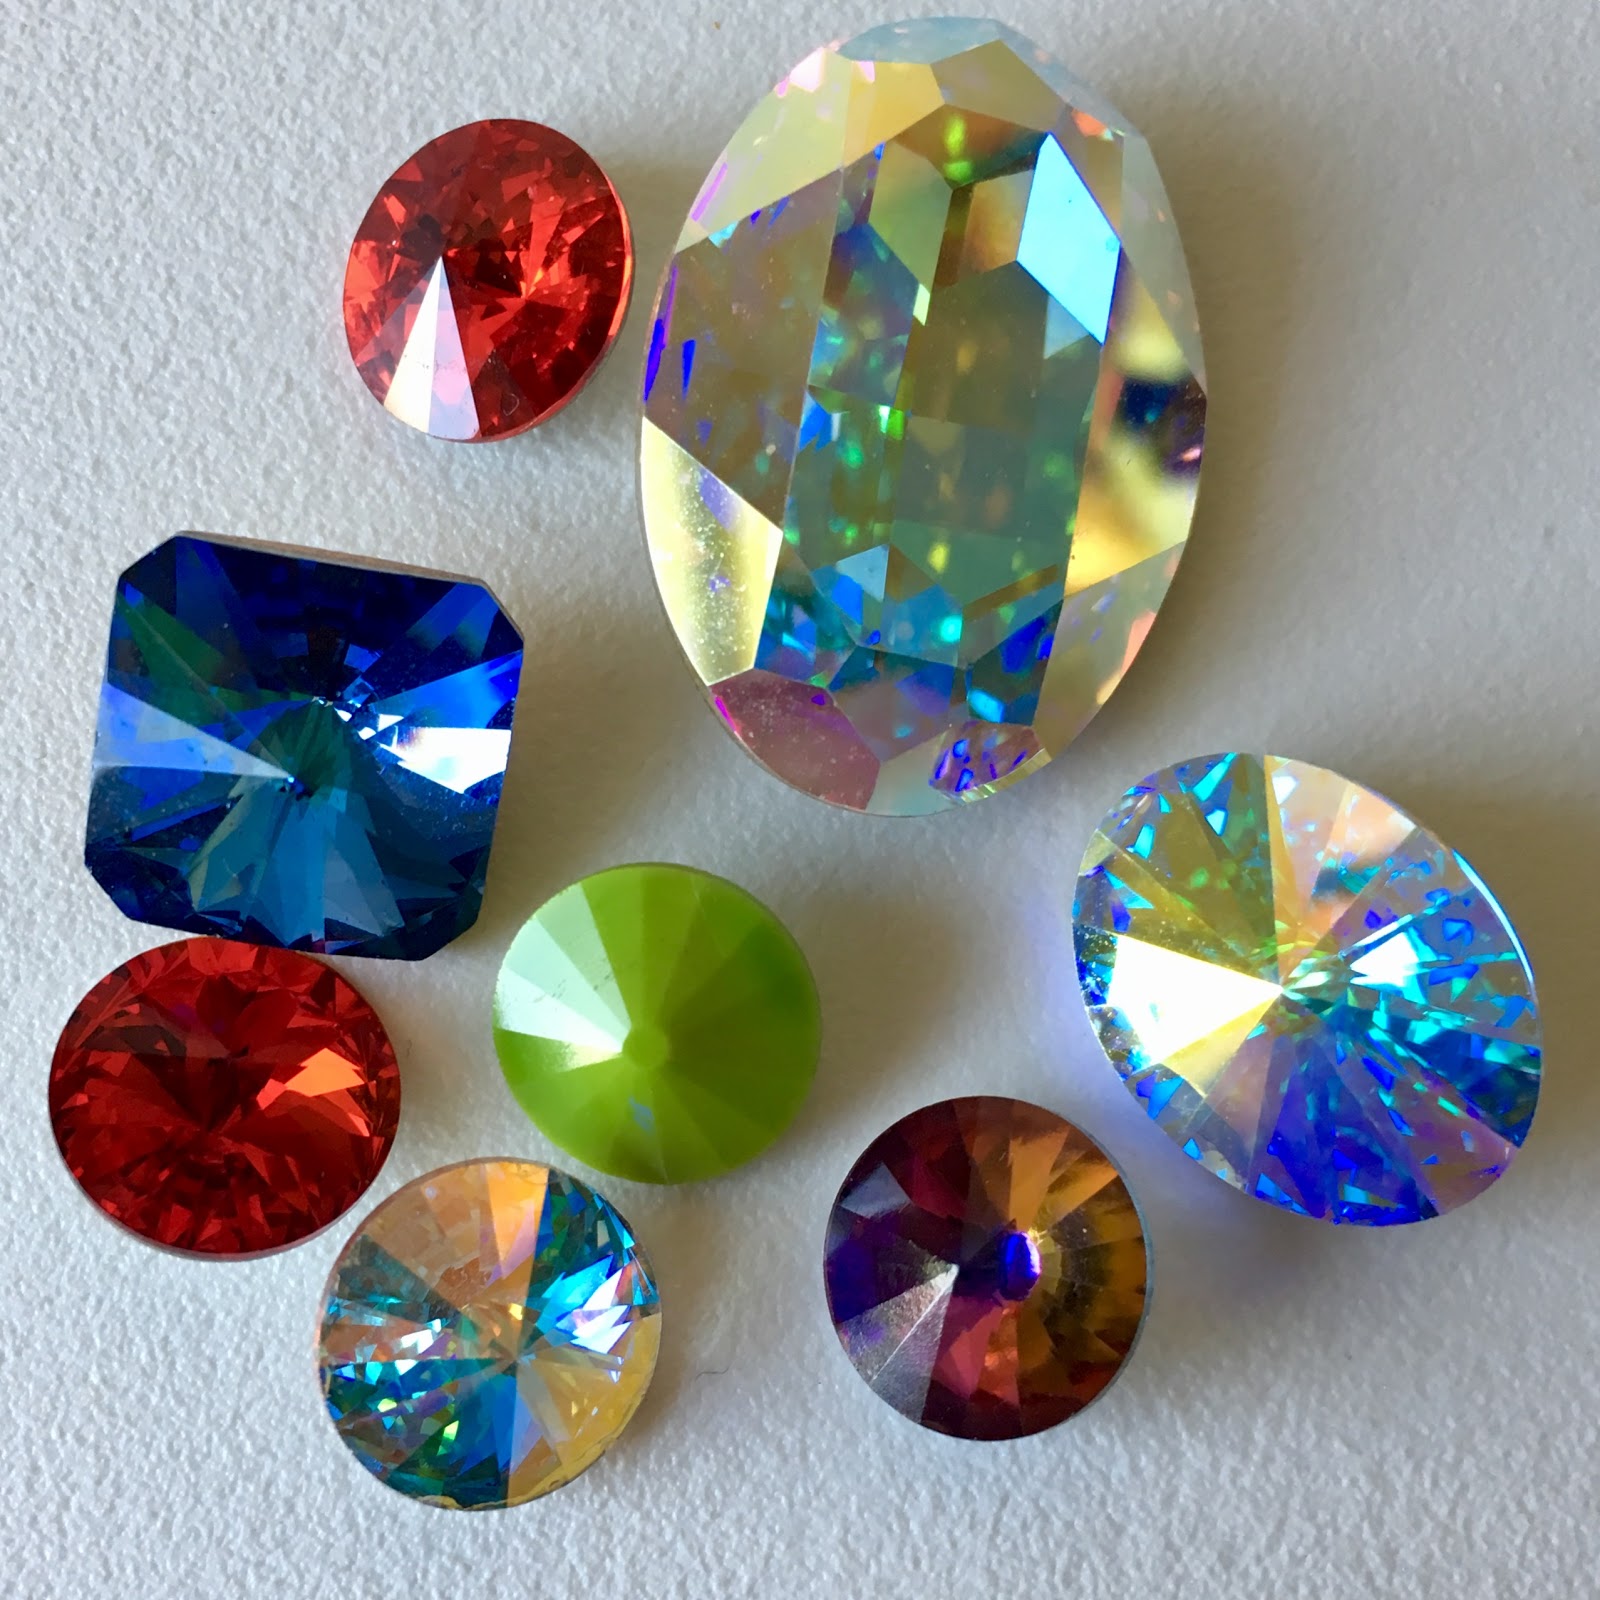
A rivoli is a crystal with a foil backing, making it very sparkly. There are no holes, so it's a cabochon, not a bead. They come in a variety of shapes and sizes, for many creative possibilities.
The foil backing needs to be protected from scratches and wearing off, because if that happens, the crystal will lose some sparkle. Before working with the rivoli, paint some clear nail polish on the foil back and let it dry.
I beaded a peyote bezel around my rivoli before adding tatting around it. Deborah Roberti of AroundTheBeadingTable.com has written an excellent free tutorial for creating a peyote bezel, and that's what I followed. She has many more patterns for sale on her website.
I used a 12mm Swarovski rivoli, size 11/0 Delicas and size 15/0 seed beads. My beading thread was 6 lb Fireline, which is a little thicker than the 4 lb Fireline recommended in the tutorial, but it worked well for me. I must point out that it's important to use a thread especially made for beading to do the peyote, because an ordinary sewing thread can easily break from the stress.
| I chose to finish the necklace with strung beads on a flexible beading wire. |
Tuesday, July 10, 2018
“Berry Sundae” hand dyed
If you've been waiting for my books to go on sale, the time is now. My self-published books (printed only) are currently on sale in my Etsy shop at a discounted price.
| Another one of my wire + tatting experiments. I'm keeping this one! |
I used solid brass wire from Beadaholique in gauges 18, 20, and 28. The Sodalite stone I purchased from a local bead shop. The tatted "flowers" are a mix of my own hand dyed with white and some gray polyester thread. I basically used the same techniques as in this video, only this particular pendant got a little fancier.
For those wanting to learn more about wire weaving, I recommend Dawn Horner's Craftsy class Start Wire Weaving Cabochon Pendants (affiliate link).
Tuesday, July 3, 2018
June flew by
| Tollway Tatters - June 23, 2018 |
| My fresh paint and wallpaper home improvement project completed |
| That's me trying the Lunar Module landing simulator at the Armstrong Air and Space Museum in Wapakoneta, Ohio |
| View of Cincinnati, Ohio |
| A beautiful sundae! Maybe the inspiration for new hand dyed thread. |
| Tetrahedron earrings, tatted from JTatter's pattern. |
| JTatter's tetrahedron pattern in my own hand dyed thread and hand formed ear wires. |
Monday, May 21, 2018
Simple Filigree Heart pendant in tatting
Free pattern, folks!
Tatting techniques used are ring, chain, join, and bead picots, with one shuttle and ball thread. Click HERE to download the pattern.The story behind this pattern:
I designed it in 2016 to teach at the Bead&Button Show. I intended to make it public after that, then "put it away" and forgot it.I had finished a pink heart from this same pattern, but apparently never photographed it and I couldn't find the tatted necklace today. But obviously this little heart can be made in any color. The sample shown is in hand dyed "Stardate". The center is a metal filigree, and a link to where to buy that item is included on the pattern. If you don't want to add the metal piece, you could probably just tat a ring with 6 picots to use instead.
The story behind these colors:
I had used the same seed beads on another item and someone asked me this morning what brand and color they were. It took me most of the morning hunting through my "studio" to find that tube of beads, because, naturally, I had "put them away". You know how it is. I made it my goal of the day to find those beads :)A lengthy search of the Internet showed that I indeed had a "rare" color of seed beads! I'm not sure but they are possibly Miyuki PF484 Winter Green Matte Galvanized. Apparently discontinued, it seems. I bought them at a local bead shop, and planning tomorrow to visit same bead shop to buy out the rest of their stock if they have any left :) Love that color!
I hope you have fun with the pattern in your favorite colors!
Thursday, May 3, 2018
Pattern diagramming is in progress
You probably remember this milkweed pod from last year. I've been working on writing up the pattern for a while now, and although it still isn't even far enough along for me to be able to tat more pods to show, I am making progress.
One of the challenges I have is presenting a 3 dimensional object as a flat diagram that people will be able to follow. What I have so far (which, naturally, I can't show yet!) will work well, I think.
I have accepted the fact that I must write it up for without beads, and with beads. If I left either version out, there'd undoubtedly be some disappointment.
Just so you know, there are a LOT of split rings. Be careful what you wish for!
This'll take a while.
One of the challenges I have is presenting a 3 dimensional object as a flat diagram that people will be able to follow. What I have so far (which, naturally, I can't show yet!) will work well, I think.
I have accepted the fact that I must write it up for without beads, and with beads. If I left either version out, there'd undoubtedly be some disappointment.
Just so you know, there are a LOT of split rings. Be careful what you wish for!
This'll take a while.
Subscribe to:
Posts (Atom)