Monday, December 11, 2023

The picot comb, new eyeglasses, and metallic thread fire test


"Linnea" bracelet in progress

The large Clover picot comb comes in handy for measuring picots that will have beads placed over them. I'm not one to use a picot gauge much at all, but the Linnea pattern has a lot of picots that will be covered in size 8/0 seed beads in the next row. Too many for the paper clip method of holding beads on temporarily. I found that 2 bars of the comb made the picots the right size!

Clover picot comb in use.


Picture of me in my "studio" wearing my new eyeglasses.

New multi-focal glasses for me now that recovery from cataract surgery is done! Everything is so clear and bright now. Ordinary reading glasses work okay for close work like tatting, but I prefer to not have to put on glasses to see close, then having to take them off to see distance, so the multifocal glasses are perfect for me. My distance vision isn't quite 20/20 anyway so they have just the right amount of correction.

Recently I watched someone "melting" the ends of Liz Metallic thread and got overly excited about it. I do have some experience melting the ends of nylon macramé cord which works well and I had all sorts of dreams of easy finishing of Liz Metallic projects in the same manner. At the Tollway Tatters zoom meeting on Saturday I was offered some really helpful advice : experiment first on a practice piece! So I did and here's some photos.

Yes, that's a scary flame!

The side of the lighter extinguished the flame, but...

That candle-like type of flame is not what I've experienced with nylon cord. Also the knot did not seal, it came apart. So, I'll just stay with sewing the ends in to finish them, as with cotton thread.

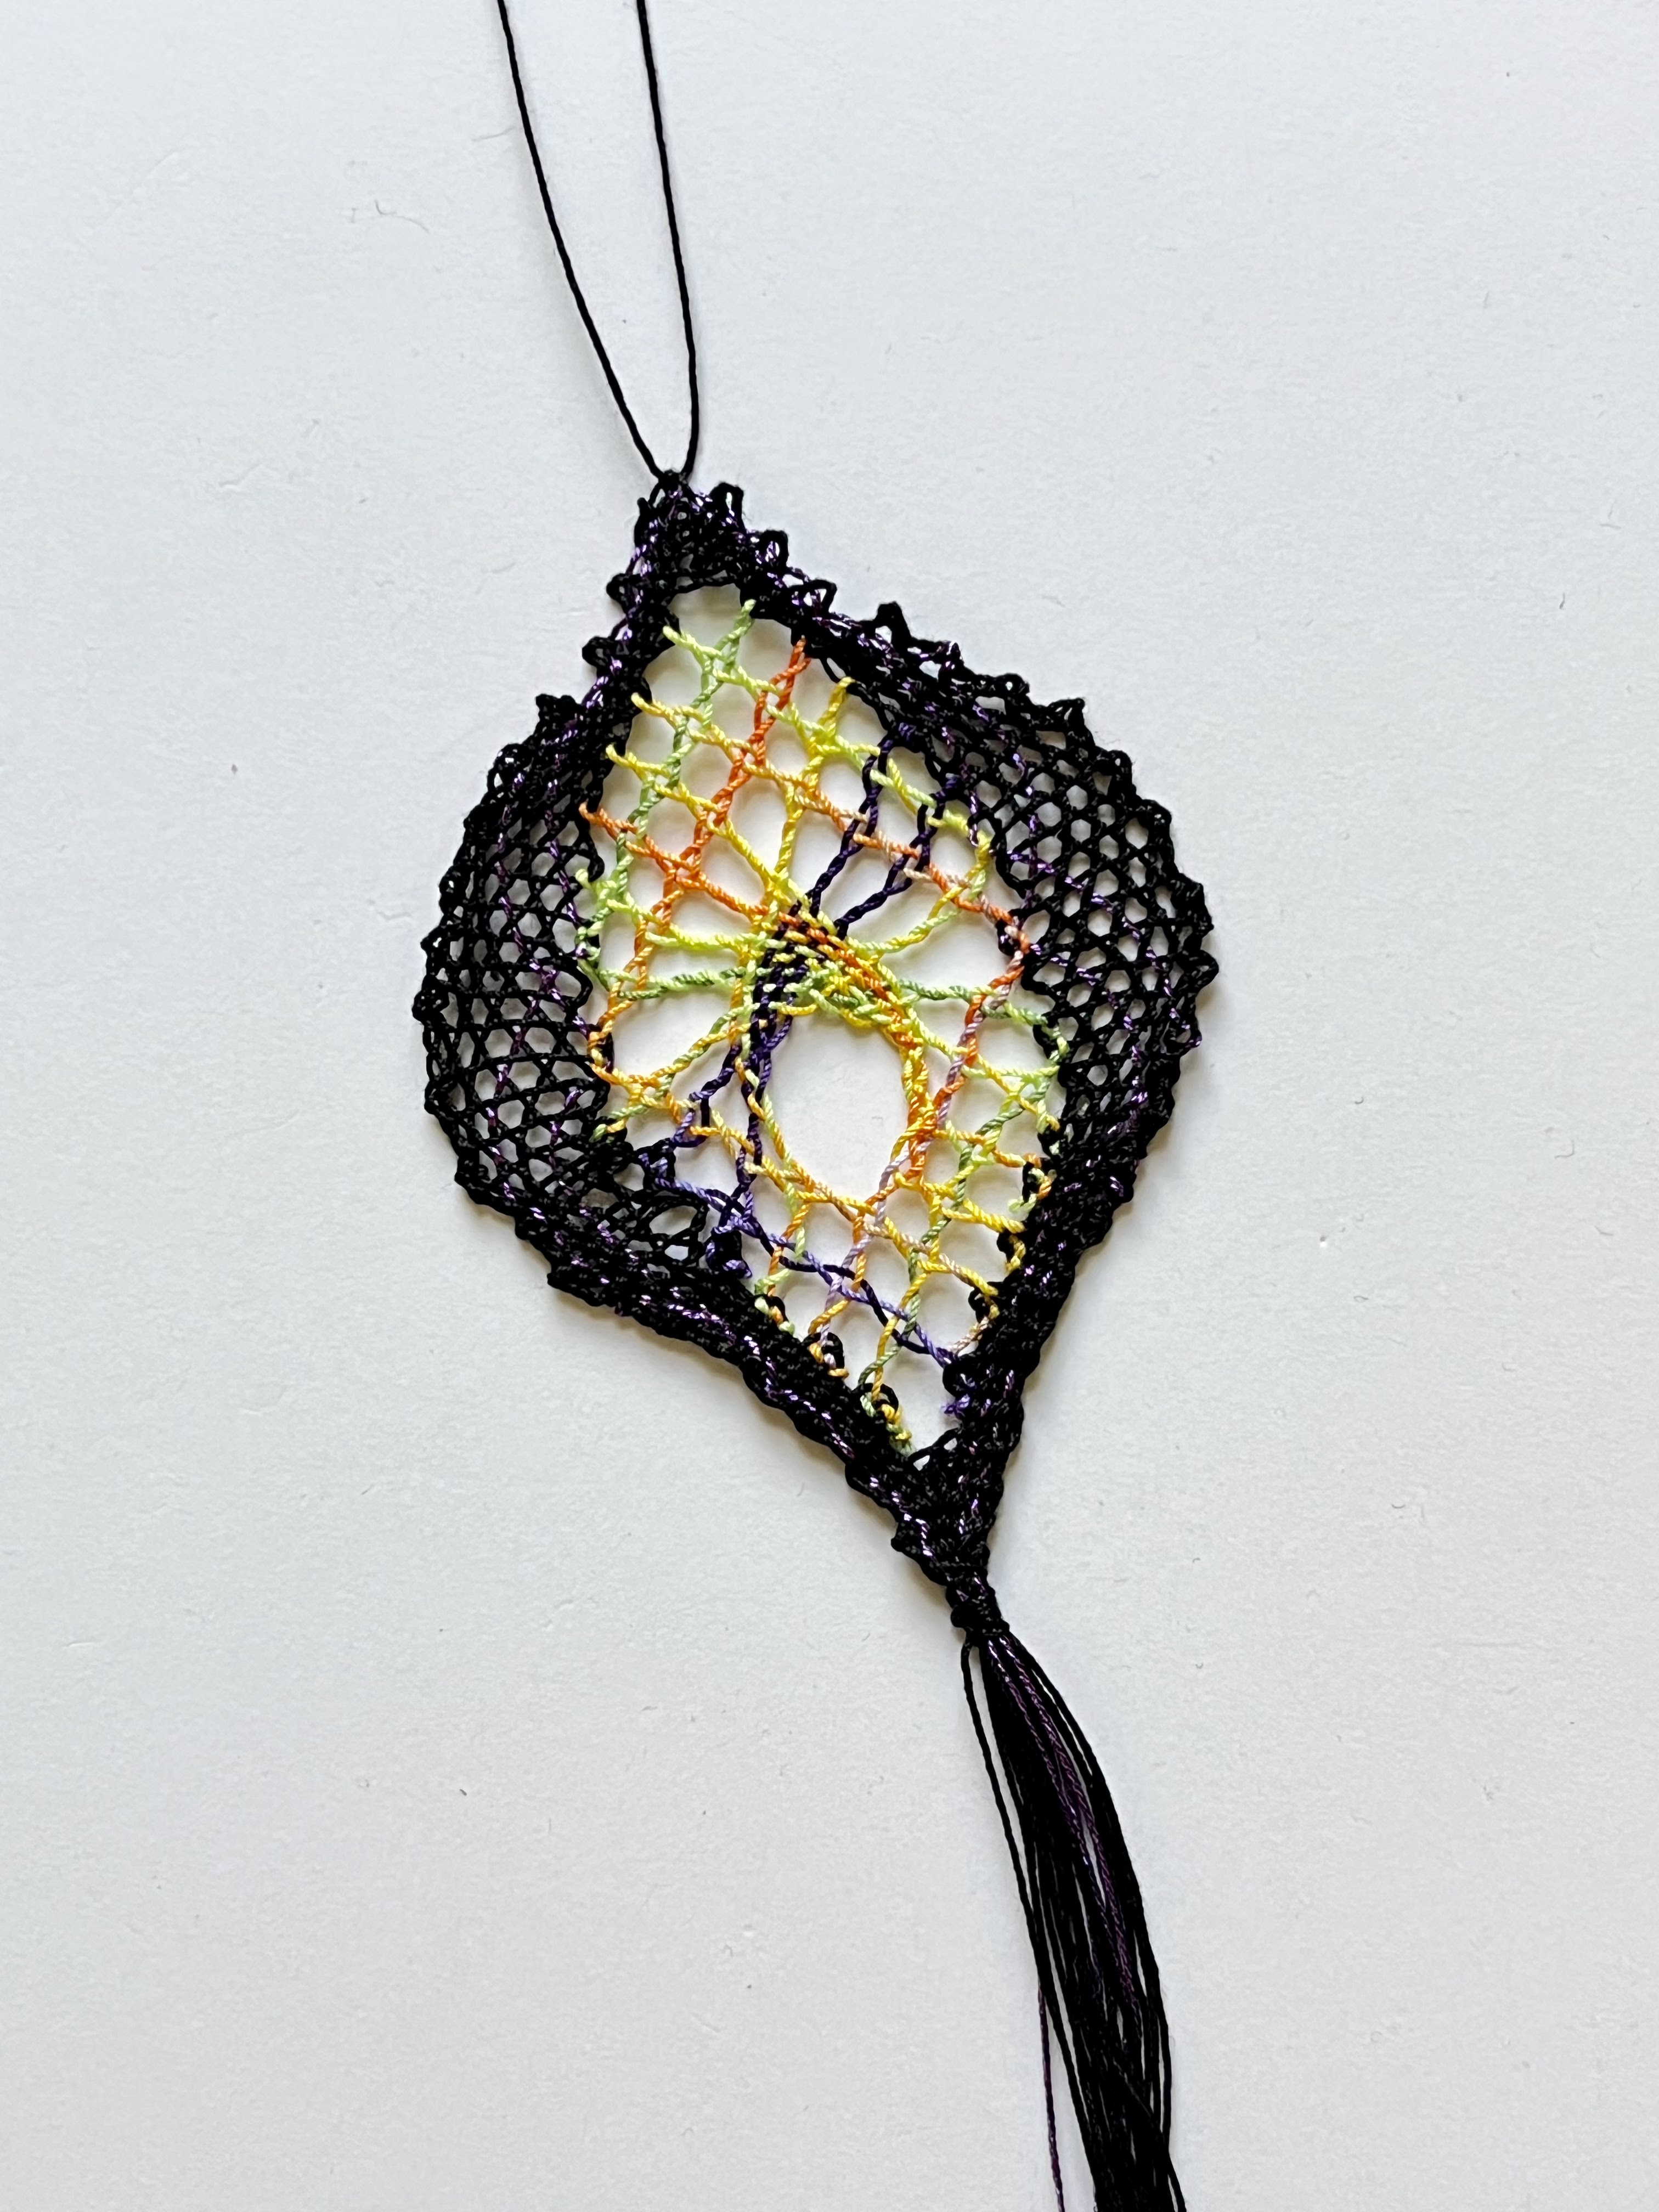
I still love working with Liz Metallic thread! Here's my current bobbin lace project in progress using the colors of "Seafoam" and "Sand Dollar". The lace collar pattern is "Pareis" by Colette Varet. I've made this pattern before in Liz Metallic "Bright Gold".

Bobbin lace "Pareis" collar in progress.

Sunday, November 26, 2023

Lilac Sea and Sea Green plus lace jewelry


Hand dyed "Lilac Sea" is a pretty sea green with purple. I took the dye for sea green, added a little bit more dye to make the color slightly richer, and did a few solid color skeins in size 20. Actually, I was trying to match a batch from years ago that I'm using in a current project, but the thread in my project is a little darker. So, next time I'll add a dash of black dye powder to darken it, hoping to not add too much! But the current skeins go very nicely with the "Lilac Sea".


A couple of pendants currently listed in my Etsy shop: the blue and white is from my free pattern "Star Capella" and the red is from a pattern in my book "Up and Tat 'Em". I added beads to the outer picots and a curled ring bail at the top, but otherwise it is the same as the "Five Petal Pendant" pattern.
Mélange earrings in Liz Metallic bright gold with red beads


"Loopy" earrings with Liz Metallic Iridescent and Lizbeth Christmas Delight size 20.


That's me wearing a bobbin lace collar made from Liz Metallic, with the sweater I knitted last year. ☺
Currently no eyeglasses since I recently had cataract surgery. I've been using reading glasses to see close work. Prescription bifocals will be next. I do notice that colors are a lot brighter now! ♥

Friday, November 10, 2023

Pattern for Victory necklace and more Snowflake


The story behind this necklace is that I saw a picture of a vintage tatted collar (I think it was from the 1940s) and decided to embellish it. I'm sure that I've seen other variations online based on the same collar pattern, but I think mine is different enough to call my own. Someone actually asked me to write up my version of the "Victory" pattern some time ago and I'm sure the message is somewhere in the vast array of messaging services we have these days but I couldn't find it. Anyway, the pattern is done!

The pattern is listed in my Etsy shop so you can read all the specifics there. Although I use size 20 thread to fit with the beads chosen, of course any size of thread can be used without any beads, the tatting will just turn out larger or smaller. 

In addition, I posted a video on YouTube demonstrating putting a bead in the center of a ring, showing how it's done in the pattern.
________________________________________________

New batch of  "Snowflake" hand dye thread just listed in my Etsy shop also.


_______________________________________________________

In bobbin lace, I finished my first try at a pattern I'd been wanting to figure out for years! It's from a French book Bijoux En Dentelle by Colette Varet and the pattern is called "Pareis". 
The original in the book was made from wire. I made mine using Liz Metallic size 20 and some Lizbeth size 20 thread. My collar has flaws but it's wearable! I learned a lot from working the pattern. 
I used Google translate to understand the little bit of written instructions that were in the book. The diagrammed pattern is excellent, but since it showed just half of the collar it needed to be photocopied from the book with the 2nd half reversed and put together to prepare a printed pattern. I think I enlarged my copy 104%. I'm pleased with the results and the Liz metallic is nice and stiff so it seems almost like wire. Now I have the pattern so I want to make another!


Friday, October 20, 2023

Scenic Stroll


The autumn trees with hand dyed thread that they inspired.

New batch of hand dyed thread, inspired by a stroll through the park in autumn. "Scenic Stroll" has been listed in my Etsy shop: yarnplayer.

Hand dyed thread "Scenic Stroll".

_________________________________________________________________

I'm continuing to have fun with bobbin lace. Bookmarks are a good size for practicing and I find that I'm even doing more reading of actual printed books since I got going with this! 

My bookmark based on "Sampler 7" from the book "Torchon Lacemaking: A step-by-step guide"

I've started another bookmark in Size 20 cotton thread using GaliciaBee's pattern with Cathedral Window spiders. Starting the top I used a different technique to try it without the usual little picots and I'm attempting to add "footside" edges. I've done this pattern several times so now am feeling bold enough to experiment! 

Thursday, October 12, 2023

Progressing on "Victory" pattern


An in-progress photo from my version of the "Victory" pattern. 

Slowly, I've been making progress on writing up my necklace version of the "Victory" pattern, based on a vintage collar pattern of the same name. The vintage pattern can be found in "The Tatter's Treasure Chest" published by Dover. My pattern varies slightly from the original collar and has beads added. Quite a while ago someone asked me to write up my version, so I'm finally getting around to it! Probably several weeks before I have it finished.

My necklace laid over the photo from "The Tatter's Treasure Chest"

_______________________________________________

Bobbin lace ornament from a Jenny Brandis pattern

I messed around with a Jenny Brandis ornament pattern that is rather too advanced for me at this time! I like the results, but it bothers me that in order to keep the colored thread separate from the black I tied knots and cut, which seems wrong to me! Eventually I may try again.


Wednesday, September 27, 2023

Larkspur and a lace bookmark


New hand dyed thread batch "Larkspur" is now listed in my Etsy shop. 
The colors were inspired by a delphinium (aka larkspur) flower in my garden.

Obviously not as vibrant as the beautiful, intensely saturated colors in that plant, but I did my best. I ordered new dye colors for this batch, choosing "Intense Blue" and "Blue Violet" from the Pro Chemical and Dye website. I always use fiber reactive dyes for my cotton threads.
______________________________

A bobbin lace project completed! The Caneground Bookmark pattern by Jenny Brandis. I really needed her clear, step-by-step instructions and excellent video demonstrations for every little bit of the process to get this done. I guess you could call it a "bucket list" wish to be able to learn bobbin lace. Some of my size 40 hand dyed thread is in this.


Monday, September 11, 2023

Tatting with gears and bobbin lace progress


From my "High Gear" pattern


This pair of earrings was tatted from Liz Metallic thread size 20, color number 311. I made several short videos while tatting this pair. Three of them are on my TikTok profile, and I just added a one minute video demonstrating a self-closing mock ring around a bead to YouTube as a short. The earrings have been listed in my Etsy Shop, and the pattern "High Gear" has been there awhile.


There has been some progress in my new hobby of bobbin lace. The pattern that I'm working on now is by Jenny Brandis. She has many instructional videos on YouTube and a lovely Etsy shop as well.

My first attempt at a Jenny Brandis bobbin lace pattern

I've removed some of the pins in the lace already completed to better see how the colors are interacting with the pattern. Mind you, I was really clueless about what would happen with the colors when I started. They didn't stay neatly in place like the simpler pattern that I tried in my previous post. But, now that I can see the color mixing it's like a painting! I love it! 

I'm using mainly size 40 Lizbeth and some of my hand dyed thread. This is thicker than the recommended thread for the pattern, so I enlarged the pattern to 115% and it seems that's about right. Jenny Brandis includes a lot of helpful information with her patterns, so that's how I learned about resizing the pattern to fit the thread.

Tuesday, August 29, 2023

Okay, so now I also do bobbin lace


Pattern is by GaliciaBee
The pattern is by GaliciaBee and it's so pretty and good for beginners. She also does videos

My current work under the pins is from one of her beautiful thread kits. I added some Lizbeth metallic size 20 to it, and I'm loving the combination.


I still do tatting also! Currently I'm in the process of writing up my version of the "Victory" necklace. Eventually I hope to offer my version of the pattern in my Etsy shop.


Friday, August 11, 2023

The jacket again, with clover edging


The clover edging that I'd been tatting has now made its way onto the front of the white jeans jacket. The edging pattern and my video demo tatting it is on YouTube HERE.

The back of the jacket features a pair of wings at the top, pattern is from FairyLaceAndMore.

 The circular pattern in the center surrounded by tatted leaves is from a public domain vintage book that's available as a free instant download from the Antique Pattern Library: Priscilla Tatting Book no. 3. 

The floral edgings on the sides are a "make it up as you go" design. I tatted one, then used what I'd done as a pattern for the 2nd side.


The triangular design at the bottom is from my own "Daylily Dance" pattern, which I have for sale as an instant download in my Etsy shop.


Friday, July 14, 2023

Tatted lace "Phoenix" necklace


Tatted lace necklace from "Phoenix" pattern in dark ecru and shaded greens.

For this necklace I chose size 20 Lizbeth thread in the color number 693 "Linen Medium", and some of my hand dyed from the "Pond" batch, also size 20. 

The 3 round center beads are size 4mm, and the seed beads size 15/0. The bottom center dangle is an 8mm bead. The tatted motif measures about 6 inches (15 cm) across. This is a smaller, more delicate lace necklace than the same pattern tatted in size 10 Lizbeth (see the bottom photo for a size comparison). With size 10, larger beads are required. 

The "Phoenix" pattern is my own original, and is available for purchase as an instant download from my Etsy shop HERE. The pattern also includes a smaller, slightly simpler version as well.

A join between beads in a tatted ring.


The "Phoenix" necklace in progress.

Size comparison:
"Phoenix" necklaces (blue on top, then the orange and red) tatted in size 10 Lizbeth thread.
Bottom necklace in size 20 Lizbeth from the same pattern. 


Sunday, June 4, 2023

Vintage letter "B" made easier, or perhaps not!


The tatted alphabet in Priscilla Tatting Book No. 2, published 1915 has instructions in paragraphs so densely packed that it is hard to figure out. 

Here are my 21st Century "hacks" to make it easier... or perhaps I've made it worse! I'm only going to give instructions for the letter "B", but all the letters are combinations of similar elements. So here we go!

This project is mostly chains. For shuttle tatting only 1 to 2 yards on the shuttle and leave attached to the ball.

Begin at the top of the straight side of letter "B". R 2-2-2-2-2-2, close ring, RW.


Ch 7, 2 first halves, drop picot, 2 second halves. (It's simpler to write the same instructions this way: Ch 8, drop picot. The 2 second halves count as the first double stitch in the next set of Ch 8. I hope this makes sense.) The original instructions do not have a drop picot. They did a join at that area by wrapping the thread around the chain, like what we would call an "alligator join".  


Ch 8, drop picot, then normal picot.


Ch 10, drop picot, Ch 10. Tighten a little, but keep the chain straight. RW (turn work to go back).
Bottom ring: R 2-2-2-2-2-2, close ring.
[Ch 4-4-4. Lock join to next drop picot.] 2 times.
Ch 4-4. Lock join to next drop picot. Ch 4-4. Wrap thread below 1st ring, turning ring to face front side up.


Ch 9-9-10-8+(lock join to picot of 1st chain) 8+(normal join to previous chain) 11-12-12.
Wrap thread around bottom ring. RW. 


For front side, back side tatting, tat the following row "back side".
Ch 4-4-4. Lock join. Ch 4-4-4-4. Lock join.
Ch 4-4-4. Lock join to picot joining previous chain.
[Ch 4-4-4. Lock join.] 3 times.
Tie threads around top ring, hide ends, and cut.


Here is a sign I made using tatted letters. It says "Beach" to remind me that I live only a few miles from a beach!