Showing posts with label collars. Show all posts

Thursday, August 21, 2025

Tatting on nylon netting


Here are some examples (from a long time ago!) of my own attempts at putting tatting onto nylon netting. I first saw examples of the technique in Priscilla Tatting Book 2.  Here's a link to the overview page from the Antique Pattern Library. 

This pink necklace is my own design, completed many years ago, but as I recall the tatting was made first, then I arranged it with pins onto nylon netting cut roughly to shape but leaving plenty of net outside of the edges of the tatting. After that, sewed the tatting on using "invisible" nylon thread. When all that was done, carefully trimmed off the excess netting around the edges.


This teal green necklace of tatting on netting is also my own design, completed a long time ago.


In the photo above it's easy to see the edges of the netting, showing that it doesn't need to be cut perfectly!


The white collar design was copied from an example shown in the Priscilla Tatting Book 2. 


Each of these examples took a long time to make, and naturally are my special treasures. But, this same technique can be used to make small items that don't take so long and will still impress!


Thursday, November 7, 2024

Re-sharing my Dissent Collar pattern


The only techniques used in this pattern are ring, chain, reverse work, picot, join, and lock join. 

Tat the top row across first, shown in gray on the diagram. Then continue tatting down and up for each narrow section. The picots between the narrow sections need to be gradually larger to enable the sections to fan out nicely.

I made mine using size 10 thread, but since this collar is worn like a necklace, the size doesn't really matter.


Top row and first section in progress

Beads can be added inside the top rings.
I'm using 6mm beads with size 10 thread in the photo above.


My tatting pattern was inspired by seeing a picture of RBG's dissent collar. ♥

Ruth Bader Ginsburg


Friday, November 10, 2023

Pattern for Victory necklace and more Snowflake


The story behind this necklace is that I saw a picture of a vintage tatted collar (I think it was from the 1940s) and decided to embellish it. I'm sure that I've seen other variations online based on the same collar pattern, but I think mine is different enough to call my own. Someone actually asked me to write up my version of the "Victory" pattern some time ago and I'm sure the message is somewhere in the vast array of messaging services we have these days but I couldn't find it. Anyway, the pattern is done!

The pattern is listed in my Etsy shop so you can read all the specifics there. Although I use size 20 thread to fit with the beads chosen, of course any size of thread can be used without any beads, the tatting will just turn out larger or smaller. 

In addition, I posted a video on YouTube demonstrating putting a bead in the center of a ring, showing how it's done in the pattern.
________________________________________________

New batch of  "Snowflake" hand dye thread just listed in my Etsy shop also.


_______________________________________________________

In bobbin lace, I finished my first try at a pattern I'd been wanting to figure out for years! It's from a French book Bijoux En Dentelle by Colette Varet and the pattern is called "Pareis". 
The original in the book was made from wire. I made mine using Liz Metallic size 20 and some Lizbeth size 20 thread. My collar has flaws but it's wearable! I learned a lot from working the pattern. 
I used Google translate to understand the little bit of written instructions that were in the book. The diagrammed pattern is excellent, but since it showed just half of the collar it needed to be photocopied from the book with the 2nd half reversed and put together to prepare a printed pattern. I think I enlarged my copy 104%. I'm pleased with the results and the Liz metallic is nice and stiff so it seems almost like wire. Now I have the pattern so I want to make another!


Thursday, October 12, 2023

Progressing on "Victory" pattern


An in-progress photo from my version of the "Victory" pattern. 

Slowly, I've been making progress on writing up my necklace version of the "Victory" pattern, based on a vintage collar pattern of the same name. The vintage pattern can be found in "The Tatter's Treasure Chest" published by Dover. My pattern varies slightly from the original collar and has beads added. Quite a while ago someone asked me to write up my version, so I'm finally getting around to it! Probably several weeks before I have it finished.

My necklace laid over the photo from "The Tatter's Treasure Chest"

_______________________________________________

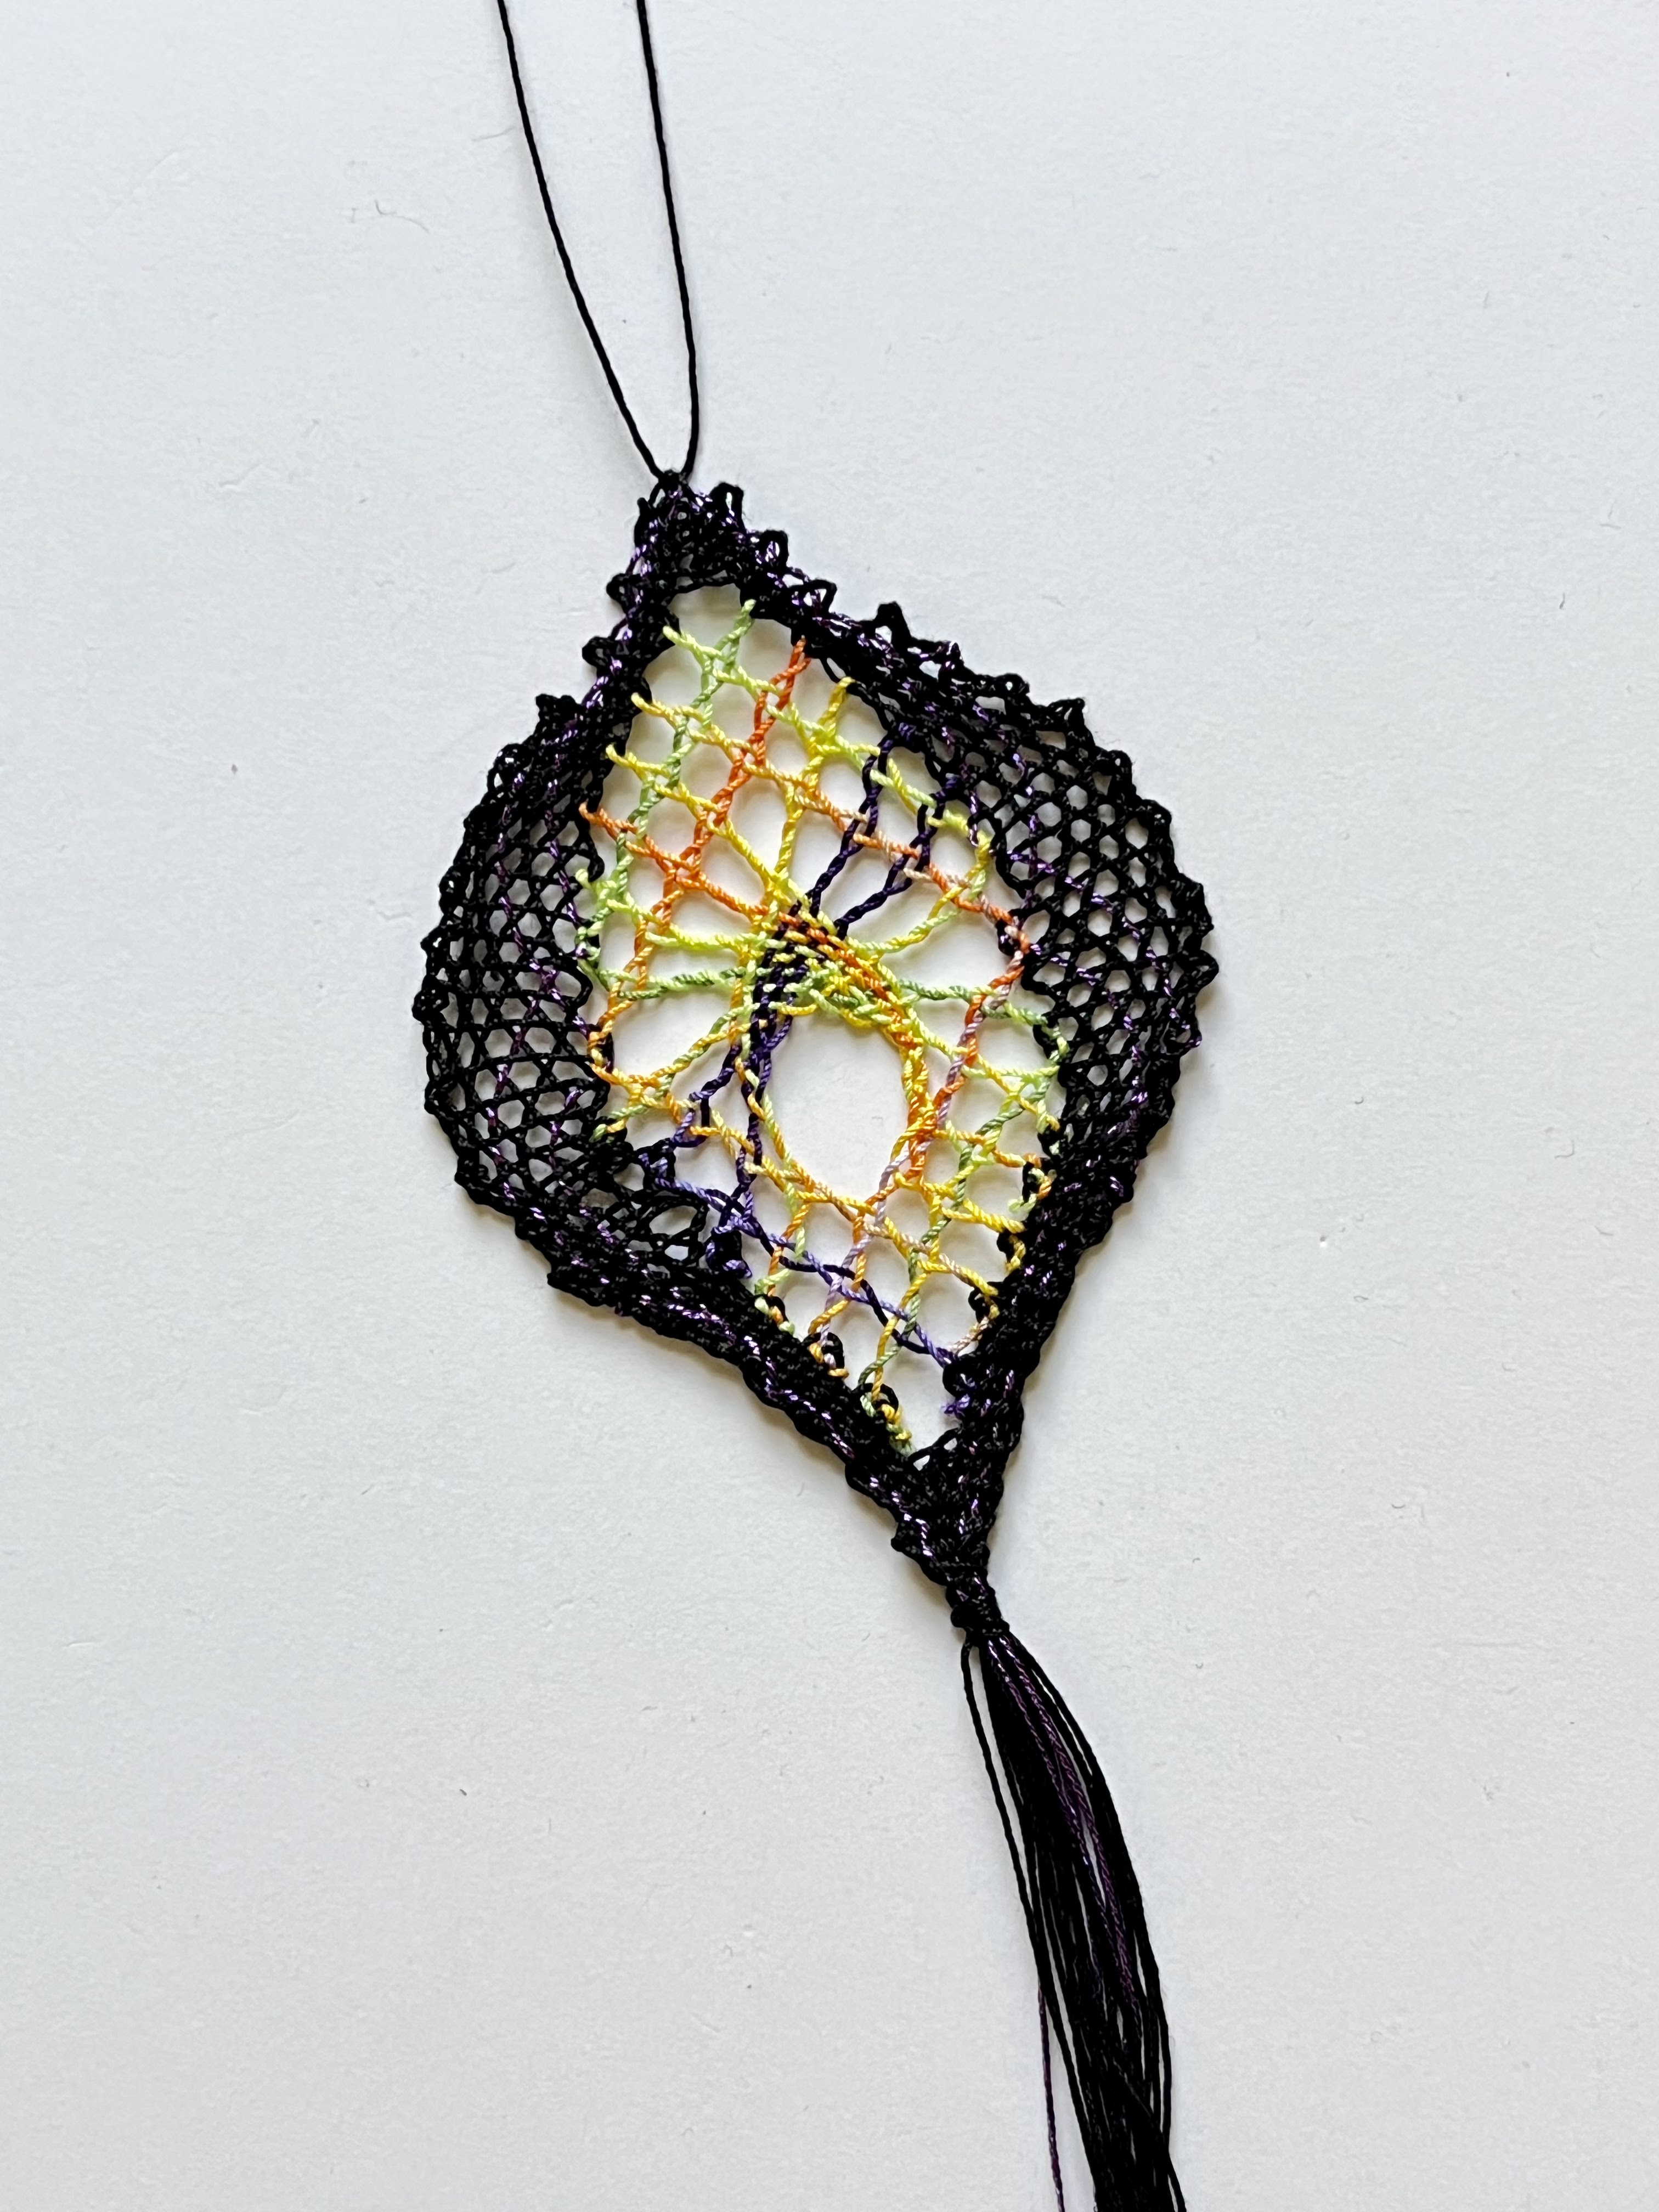
Bobbin lace ornament from a Jenny Brandis pattern

I messed around with a Jenny Brandis ornament pattern that is rather too advanced for me at this time! I like the results, but it bothers me that in order to keep the colored thread separate from the black I tied knots and cut, which seems wrong to me! Eventually I may try again.


Wednesday, February 8, 2023

Cadenza collar


Original tatting pattern, "Cadenza". 

Cadenza!

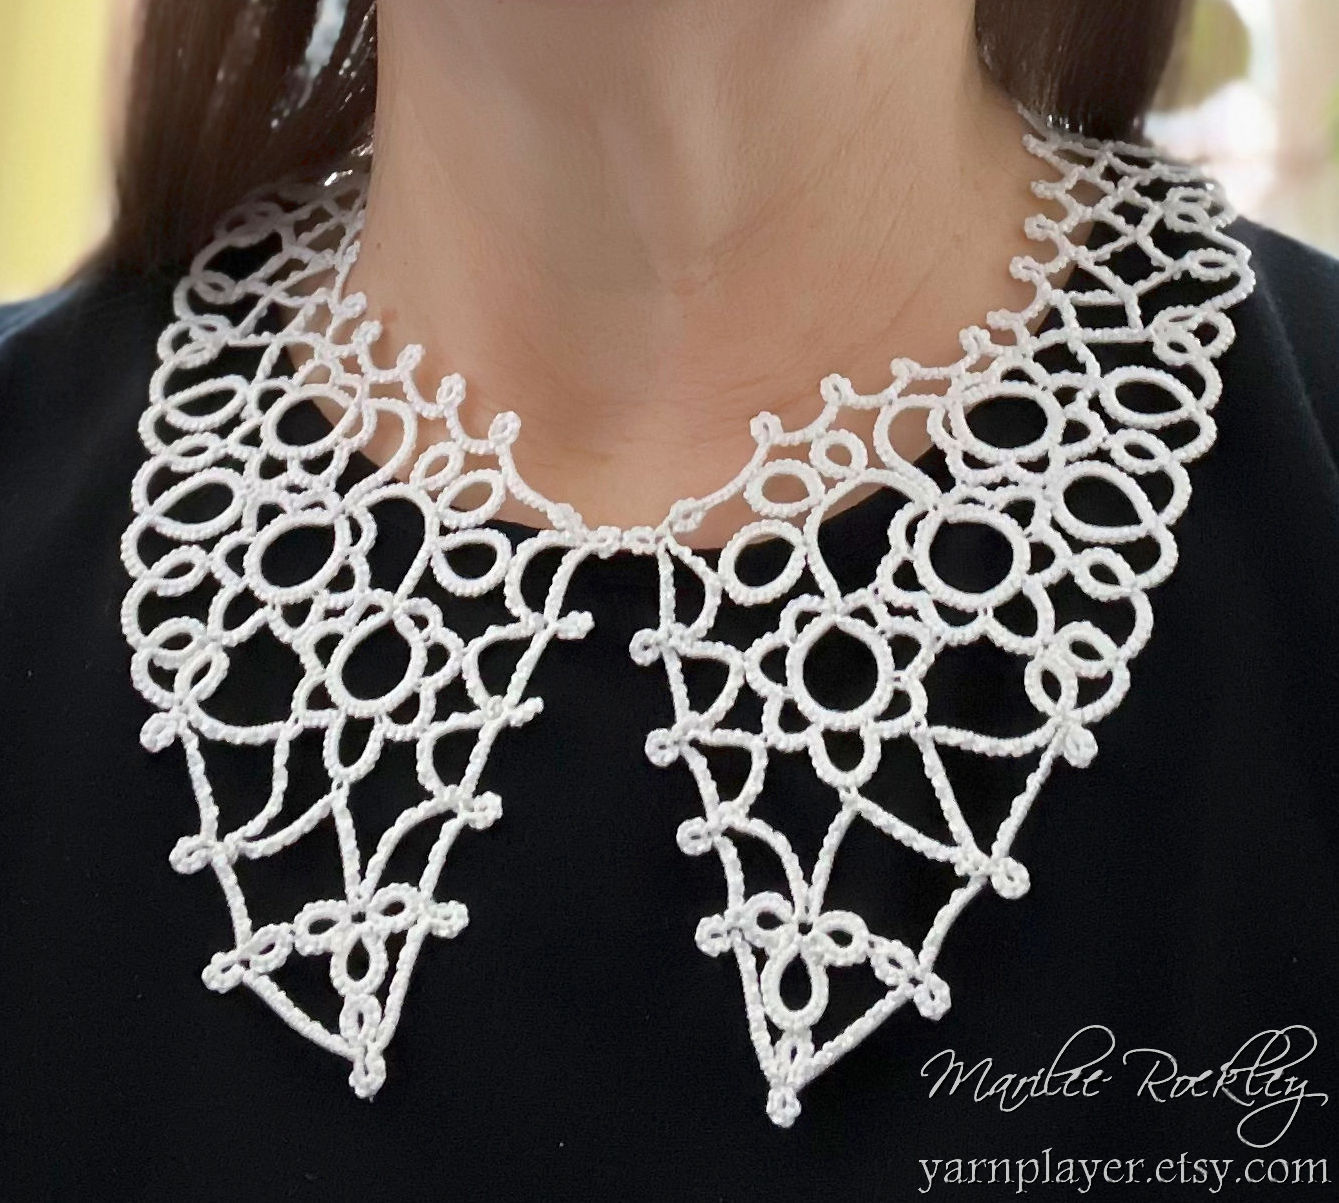
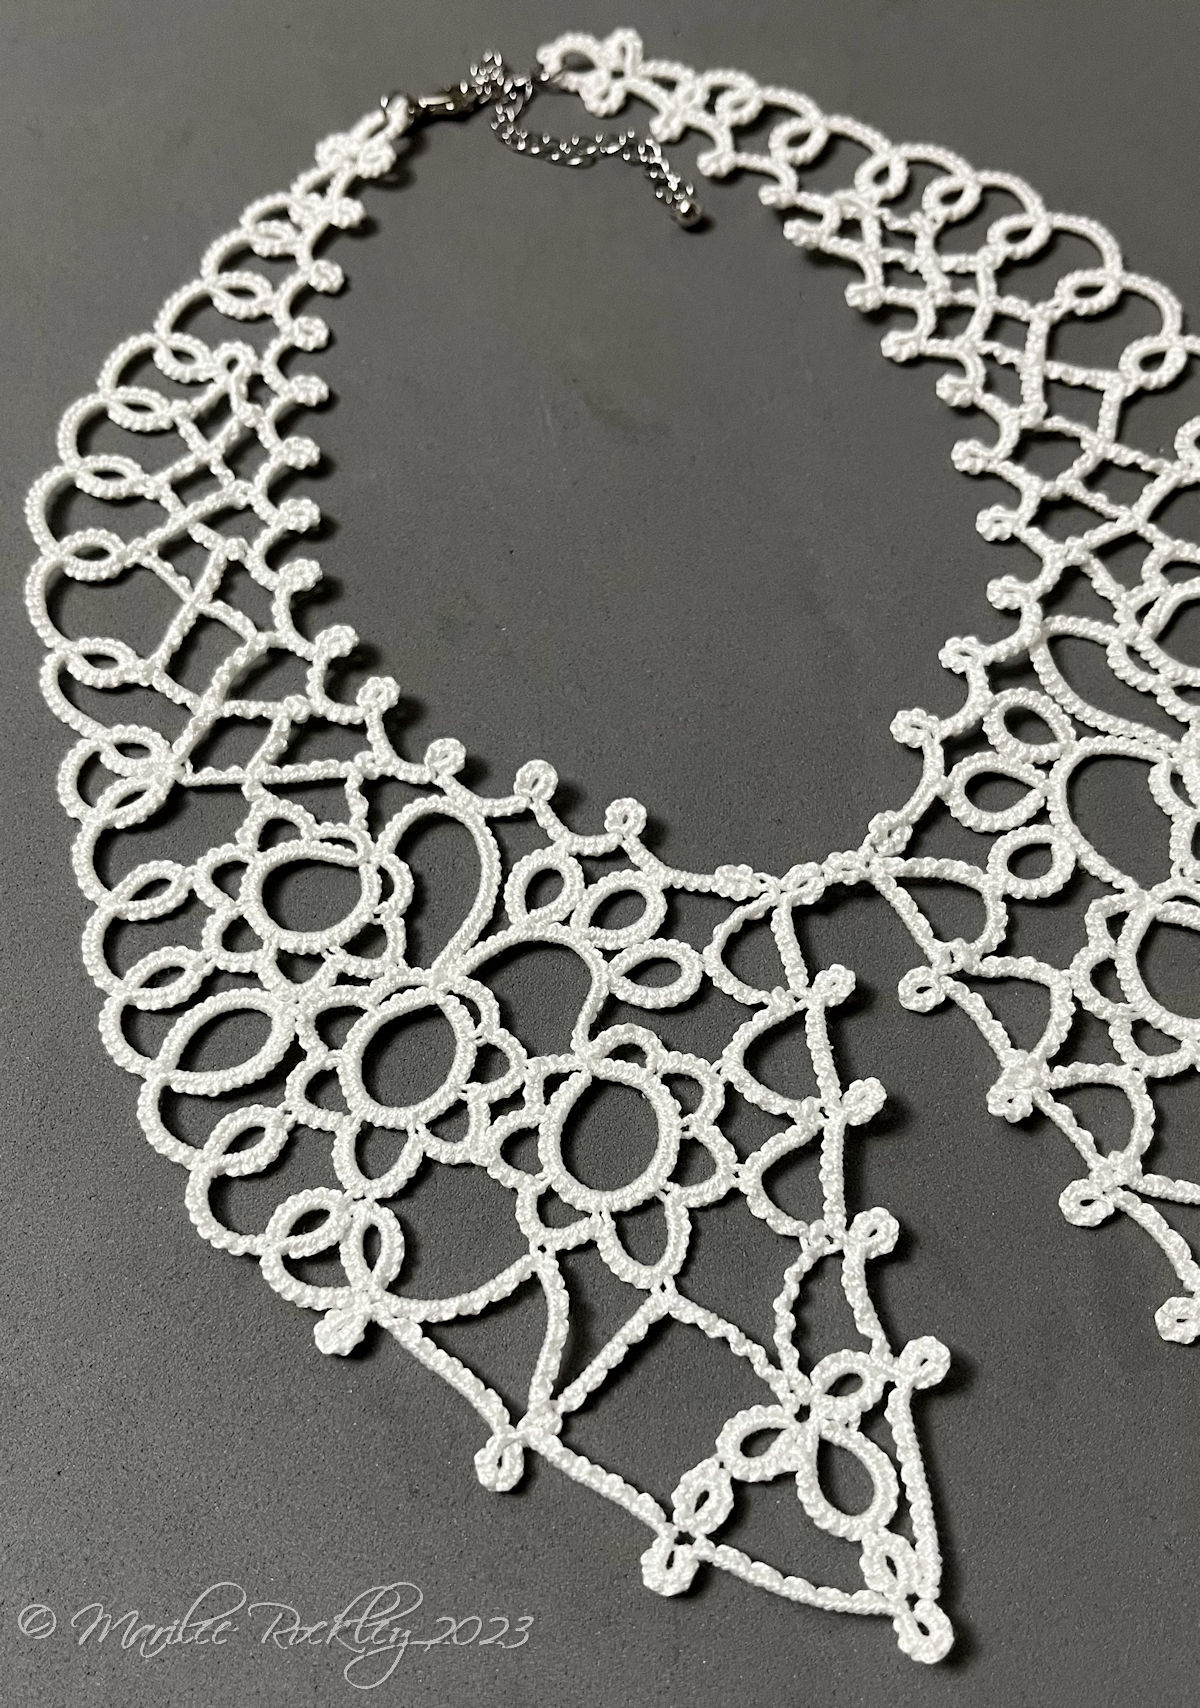
Today I put my new pattern "Cadenza" collar into my Etsy shop. I chose to call it "Cadenza" because that word means a virtuoso solo passage in music, and this pattern is challenging, also. The design is basically the same as the collar shown in my previous blog post, but improved to lie better around the neck. The white collar shown was tatted in size 10 Lizbeth thread.

For the black and purple collar, I used size 20 Lizbeth thread. The result is a smaller, daintier collar, only 12 inches (30.5 cm) in length but with a longer extender chain at the back still fits an adult. I chose to tat it in 2 colors to show how different the same pattern can look!


Techniques used are ring, chain, join, lock join, node stitch (also known as Victorian sets), alligator join. Node stitch is simply 2 first halves of a double stitch followed by 2 second halves, completing one set. In the diagram for the pattern, I used gray numbers to indicate sets, and black numbers for double stitches. There are written directions also, so I made it as clear as I could.

What I feel is the trickiest part of tatting this design is the large rings used in the center motif. But, it is easier to manage by making a very large working circle to tat the ring, and wrapping the excess thread around little finger until needed. That way, more thread doesn't need to be pulled through the double stitches to enlarge the working circle as often.


Here are the 2 collars side by side, comparing size 10 thread (white) and size 20 thread (black and purple). 


Wednesday, January 25, 2023

The new tatted collar


For several weeks I've been obsessed with designing a new collar, and here are pictures of the result. I'm mostly happy with it. The one thing I want to change is how it lays around the neck, to be a bit looser fitting without causing the 2 front points to overlap. But, that should be do-able, now that there's physical piece of work as a starting point.


I made a 1 minute video for TikTok and Instagram showing some of the process (very edited for fast speed), with music added from Wednesday plays cello "Paint It Black". 

Well, now that's out of my system, time to get back to hand dyeing thread! Next batch coming is expected to be "Mardi Gras".


Thursday, January 19, 2023

Collar designing in progress

 Still in the rough draft stage, I'm finding some elements for my new pointed collar that I really like but putting all together is a challenge. I'll keep going! 

Sneak peek at my design work in progress

The cello solo "Paint It Black" is the inspiration for this project. The first set of sheet music that I tried for it made it clear that it's way, WAY beyond my playing level. But fortunately an easier arrangement was prepared by cellist Wendy Law. I purchased it and wow! I can actually play it and it still gives the effect of awesome cello playing... at least I can pretend!

Saturday, January 14, 2023

Celtic Mardi Gras and Working on a Collar

The "Loopy" Mardi Gras items sold out immediately, but of course the pattern is still available at my Etsy shop. In the necklace shown above, I added 3 small charms using jump rings around 3 of the center front tatted chains. Seed beads on the Celtic chains weaving through the purple were strung onto the thread before tatting. These extra embellishments are not shown on the pattern, but are easy to add.


In life outside of tatting, I play the cello a bit. Well, I recently became aware of the social media buzz about "impossible arpeggios" in an amazing cello solo played by the TV character Wednesday Addams. Naturally, I searched online for the sheet music to "Paint It Black" and purchased it! 

More to the point, since this is a tatting blog, I noticed her white pointed collar and at times it's a lace collar. That excited me, so I'm in the process of designing a tatted pointed collar but with the front part mostly, finishing with necklace chain. Less work than tatting a full collar. Nothing to show yet, but will post photos when I have made progress!


Friday, June 3, 2022

Starting this collar with pearl tatting


Pearl tatting, aka double sided chain
The plan is to tat the top portion only of my fanciest necklace, and write up the pattern just for that much. Only the pointy collar top! Only that much!

Original design combining tatting and beading
Only the collar part (in dark purple in this photo) at the top, not the fancy beaded stone in the center or the rest of it. Although, the flower shapes on either side are a pattern that is already published in Marilee's Beaded Tatting Finery book as "Celtic Hexad".

So far, I've learned that when working with multiple threads, a convenient place to hide the tails is needed, and that place doesn't exist when there are core beads in the final ring!
Attempting to hide the tails ☺
So, although I love the elegant look of the beaded ring, I'll plan to go with a plain ring in the final version. If it gets that far!

Me, wearing my fanciest tatted necklace!

Wednesday, March 23, 2022

Found! Collar from Priscilla No. 2


Many years ago (in the 20th century) I tatted this collar from a vintage pattern found in a reprint of Priscilla Tatting Book No. 2. The book I still have is from the Dover Needlework Series; the title on the cover is "Tatting Patterns" Julia E. Sanders.

I used size 10 DMC Cordonnet Special to make it, and followed the directions in the pattern exactly as given (or as best as I could understand them at the time). 


My collar is not as curved in a circular shape as the picture of the model shown in the book. The only blocking I did with it when finished was to lay it out nicely and steam it. The photos in this post have been taken just as it was found stashed away several years in a box. (I'd forgotten where I had put it!)


Here is the collar worn over a sweater and tied in front with a ribbon. 
By the way, the earrings in the picture are from an original pattern by Elena Kozinenko and her patterns are for sale in her Etsy shop FairyLaceAndMore.


Tatting blogger Frivole has been working on improving this pattern. Follow her progress at Le Blog de Frivole.


Wednesday, April 14, 2021

"Phoenix" pattern is finished!

All done and now listed in my Etsy shop.

The instructions have taken 16 pages and include both the small necklace design and the large high collar, with many photos.
I have written in this style: "Ch 2+7-2 (to last picot of previous ch)." So, to clarify, I've used a + to indicate a join, and described the location of the join at the end of the sentence in parentheses.

Each design is basically constructed in the same way from a total of 6 sections with cut and tie after each. 

I used "front side/back side" tatting for this project. I know that many people don't notice any difference so of course that is an optional choice for the individual tatter.

To join the side sections to the center, I described the way I did it, starting each section in a slightly different place. Of course those sections could be started in any number of ways so just do what makes sense to you. The point is, you don't want to find yourself in an awkward spot for joining to the center last, so that's why it's better to get those joins done early.

Anyway, I hope those who tat this pattern will have fun with it!


Friday, February 19, 2021

Revamping My Earlier Design


Some folks familiar with my Tatted Jewelry book published in 2011 by Annie's Attic may see similar design elements to the "Newcastle" necklace in those pages. Well, 10 years have gone by, and I think I can do better. ☺ So, this week I came up with what you see here.

I like it as a high collar or choker necklace, but it's too wide to wear lower on the neck. I'm thinking that with some more changes a smaller variation could be made for a pendant style necklace. If that is successful, then I'd write up both versions to put into one pattern.

Not sure what to call the new pattern, but probably something to do with wings or flight.


Blue hand painted shuttle by Rita Richmond of Shuttle by Design
looking good with blue thread!