Wednesday, August 25, 2021

A new banner in my Etsy shop


To banner, or not to banner? Well, I'd gone without a banner in my Etsy shop for a long time, but after admiring the banners of some other Etsy sellers, I decided to put one together and upload it.

First, I had to learn what dimensions were required, and those numbers were discovered with some digging into the "Edit Shop" menu. 

1200 x 300 pixels minimum for a large banner, or 1200 x 160 pixels for a mini banner. As long as the same proportions are kept, the clarity is much better by uploading a larger image. My finished montage was 2400 x 600 pixels. Etsy automatically shrank the banner to fit into the allotted space.

So far, I like it! If I want to change it later, that's always possible, and now that it's been done before, it'll be easier next time.

Friday, August 20, 2021

Choose "Forgot Password"


When I've told interested tatters that the center of this necklace is the "Celtic Triangle" pattern from my "Next Steps In Shuttle Tatting" class, some of them have replied that they had a Craftsy account in the past but can't log in to the newer site that set up in 2020. Here's the fix:

Go to www.craftsy.com and select the log in icon in the upper corner (it looks like the outline of a head).
Fill in the email address that you used for the previous Craftsy or Bluprint website.
Then, select "Forgot Password". (Do not put in your old password, it won't work. You have to reset your password this first time.)

They'll send you an email with instructions to reset your password. After that's done you will have access to all the classes that you had purchased in the past!

If you still are having trouble logging in, email craftsy@program-director.net and they will help you solve any problems you may have.


Okay, so that's how to get the pattern for the center, which is finished as a pendant in my original design. The rest is just experimentation, each time it is slightly different. Just having fun!


Thursday, July 22, 2021

Beading with Tatting, Color and Roses


Work in progress: tatting with beads, beading around 8mm beads, and a retake on a previous design in peppermint green.


This beading is peyote stitch, using a doubled thread as shown in the 2nd photo. I've been using 6 lb. "Fireline" thread but have observed that it's a bit thick to use doubled with the size 11/0 Delicas beads and tiny size 15/0 seed beads that I'm working with. So have placed an order for 4 lb. Fireline to use in the future. Oh, and if you are looking for a tutorial, I'm following the top bead design shown by Viktoriya Antipova in her YouTube video here: https://youtu.be/m7oqEBAxhEI?t=1679 And it would be nice to support her by giving her video a "like".


Last weekend was a classic car show and I fell in love with all the aqua and teal colors I saw! So, having realized that I've never done a dye batch completely of aqua shades, that's definitely on the to-do list. (^^ )

The Peace rose that I had been using in photographs up to now was one I had seen at the Boerner Botanical Gardens. But theirs died, so since I really need a Peace rose in my life I bought one and planted it in my own garden. So here's a photo of its 3rd rose produced this summer!


Now that I've learned a little bit about roses (I was clueless!) now I have a deeper appreciation for the "faithfully blooming every summer for 22 years" red rose given to me by my mother. 

I don't know the name of this rose, but with the help of a rose expert friend, we've decided that it's a beautiful red rose! (And the inspiration for my original "Roses" batch of hand dyed thread.)


Monday, June 21, 2021

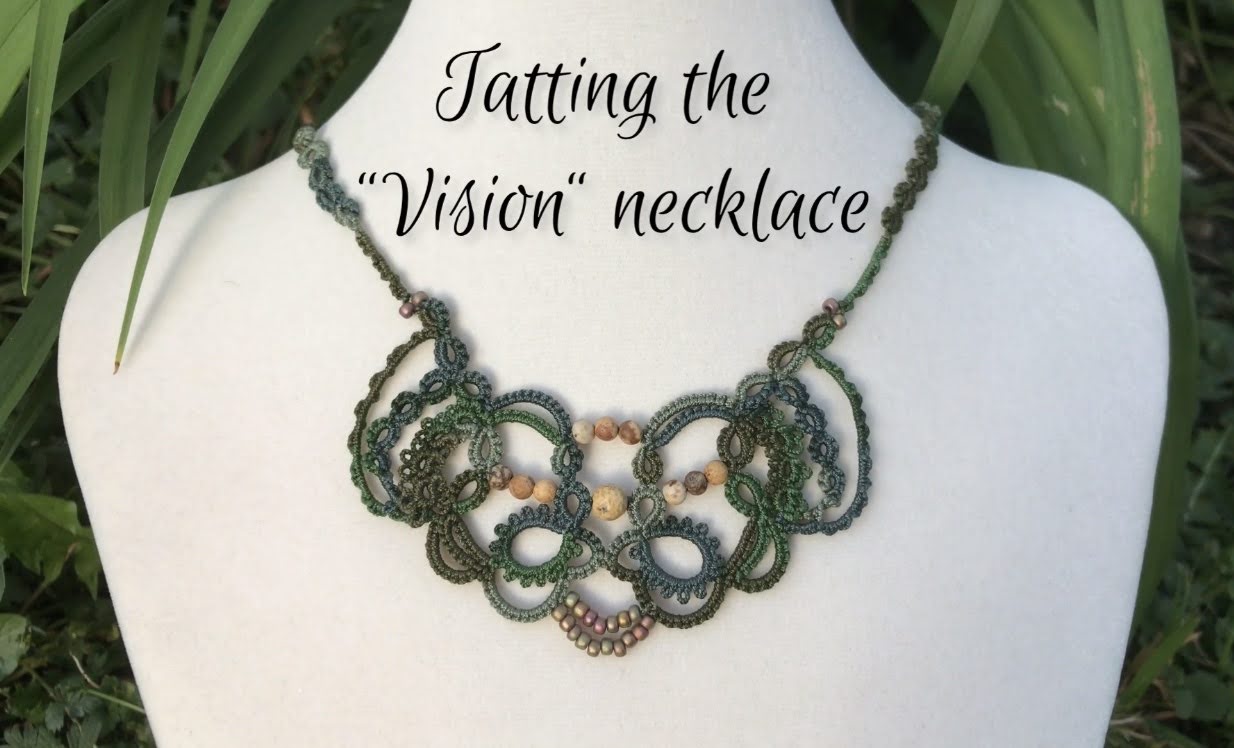
Tatting the "Vision" necklace demo


The "Vision" necklace video demo is on YouTube here: https://youtu.be/cCLOjZHduJM 

The pattern is my original from 2009. To download the free PDF click here.

Many techniques are used in this design, including strung beads on a long picot, beads placed over picots, Victorian sets, and split rings. 


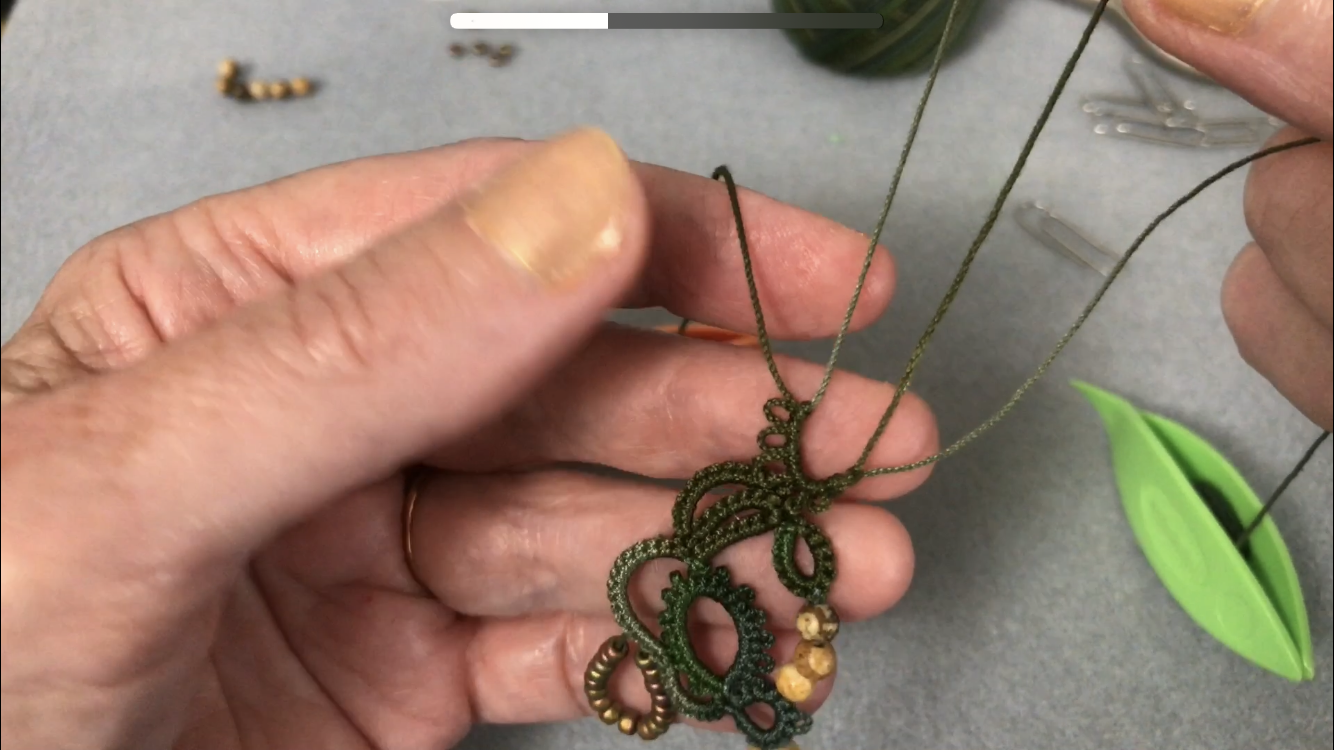
Let me explain about the way I did split rings in this pattern: I started each split ring with shuttle 1. This causes the split ring to turn over "back side" when it's finished. Important in this pattern because there are differing stitch counts on each side to cause the row of rings to curve. If started with shuttle 2 the split ring won't turn over and that would cause curving in the wrong direction for this design.

Split ring in progress

Row of split rings


Monday, June 7, 2021

The Jubiloso doily in color!


Jubiloso


All done! I'm really pleased with the placement of the colors. The complete list of the thread colors I used are on my previous post. The Jubiloso pattern is listed in my Etsy shop

I put a short video of the process of tatting this doily on TikTok, and was very surprised it went somewhat "viral" with over 65 thousand views at the time of this writing. Well, there's 21st century technology being put to use for learning about handcrafting and art, I think that's a step in the right direction.

Thursday, June 3, 2021

Jubiloso doily progress continuing


Round 7

As of this morning I have rounds 10 and 11 remaining to do. I'm pleased with how the color choices look together! So here's the list, in order of appearance:
  1. Lizbeth 612
  2. Lizbeth 630
  3. Lizbeth 615
  4. Lizbeth 608
  5. Lizbeth 622
  6. Lizbeth 612
  7. Lizbeth 630 and hand dyed "Tulip Jimmy"
  8. Lizbeth 667 and 624
  9. Various hand dyed greens, including "Leafy", "Celery", "Forest", and Karey Solomon's "Map of the World"
  10. Lizbeth 667
  11. Lizbeth 676
Photos of the finished doily will be posted when it's done! The original pattern for Jubiloso is listed in my Etsy shop.
Round 8

Round 9